Doing DTF with a DTG
If you found this informational post, you probably already know what DTF with a DTG means, but let’s go through a quick definition first just in case.
The “DTF” part of DTF with a DTG stands for Direct to Film. In the customization and custom t-shirt business that means printing directly onto a specialized DTF transfer sheet.
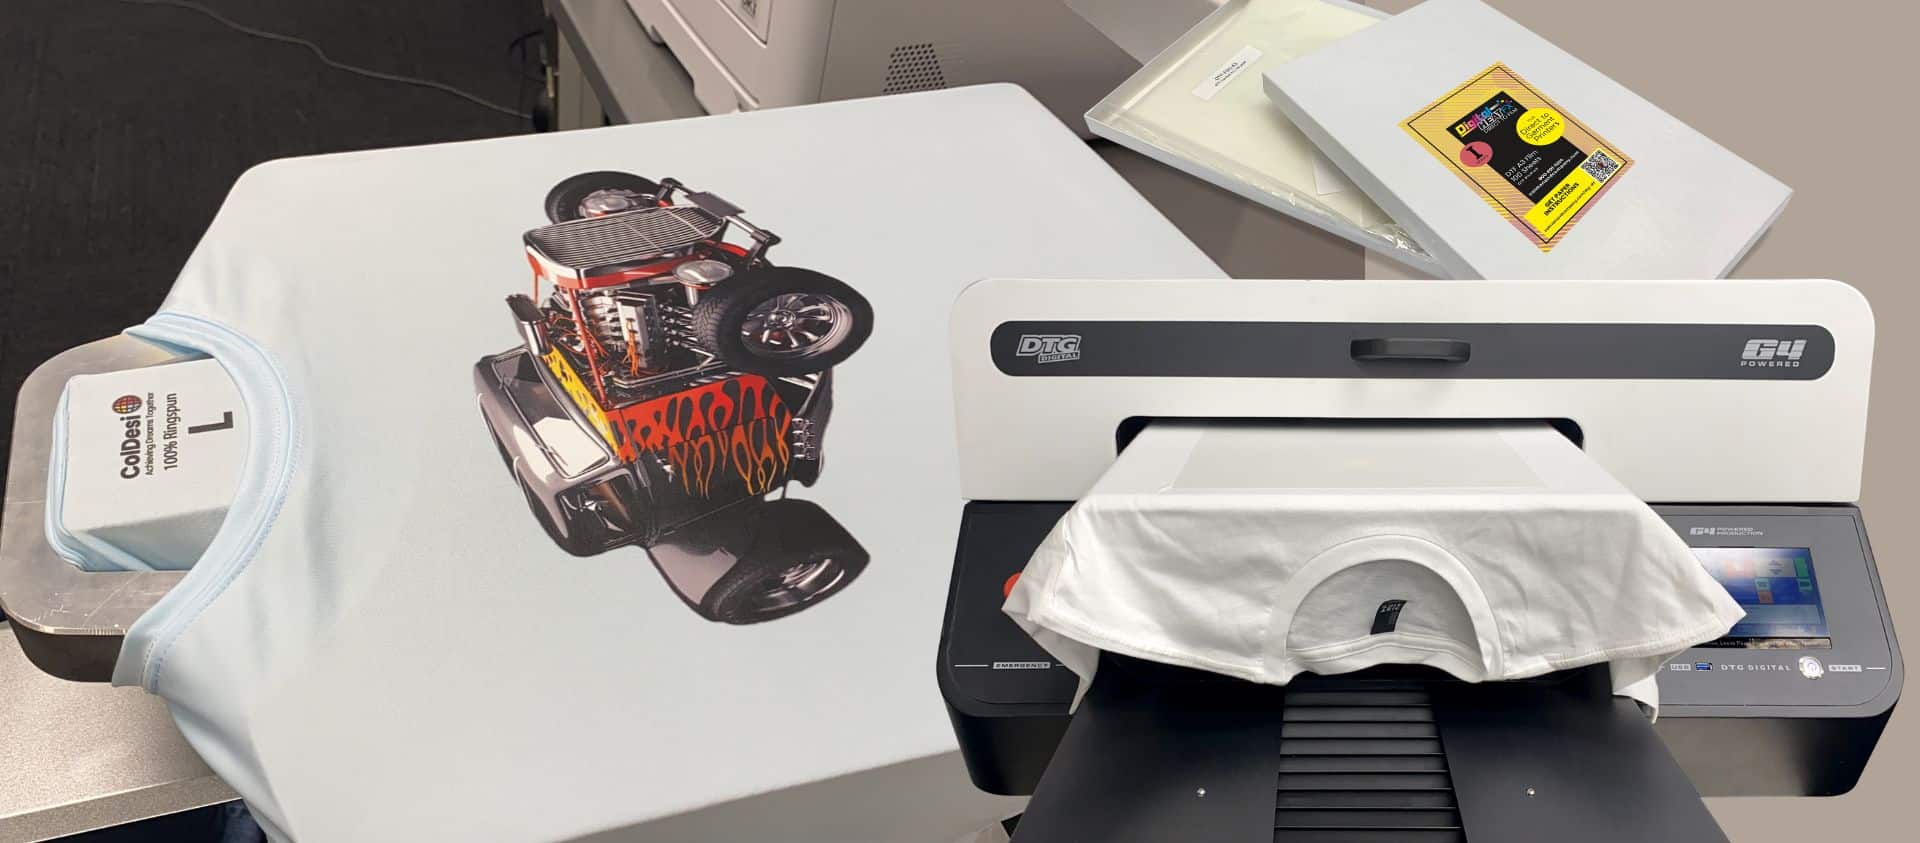
The “DTG” part of DTF with a DTG stands for Direct-to-Garment. A direct-to-garment printer like the ColDesi DTG G4 is a specialized inkjet printer that prints, you guessed it, directly onto a shirt.
So, if you’re using a DTF printer you are printing an image right onto a transfer film that is then heat press applied (usually) onto a t-shirt (usually).
We say usually here because there is a UV DTF process that allows you to create adhesive decals designed for direct application onto hard goods.
And if you’re using a DTG printer you load a t-shirt into it like you load a piece of paper into a regular color inkjet printer, then the image is printed right to the shirt itself.
Combining those two technologies is what it means by “Doing DTF with a DTG”
DTF Using a DTG Printer – How it Works
The process of creating a DTF Transfer, or film printing with a DTG machine, is actually pretty straightforward. And it’s particularly easy with the G4 printer from ColDesi.
Every G4 DTG printer comes with RIP Pro software. It’s designed to bridge the communications gap and imaging differences between what you design on your computer screen and what’s needed to make it come out amazing on a t-shirt.
The software is all set up with recommended settings called “Queues” that have been optimized for things like:
- Just printing white ink
- Printing photos
- Printing graphics
- Printing on light colors
And now, printing dtf with dtg!
While there are other steps involved, the fundamental process is:
- Import your graphic into the DTF Queue
- Load the dtf transfer film onto the G4 platen
- Apply the glue powder using the DTF Shaker Tube
- Cure the transfer with a heat press
High Volume DTF Printers vs DTF with DTG
DTG Printers Best Uses
DTG Printers make very high-quality custom t-shirts. They can print designs that no other technology can quite match.
As long as you’re either printing on cottons OR light-colored polyester. Maybe a few tri-blends if you don’t require a vibrant print.
And while the G4 is VERY fast at producing volumes of custom tees, for a DTG printer, it is NOT very fast in producing DTF transfers. Still GREAT, but not fast.
But that’s okay. If you’re a direct-to-garment printer shop, you’ve probably got two main reasons for going with DTF DTG transfers:
#1: printing on black polyester or performance wear
#2: alternative placements – like creating tags for your tees OR printing on sleeves or pant legs or other areas that it’s hard to print on.
While DTF with a DTG printer is VERY useful, it applies to a completely different business case than high-volume DTF printers like the DTF-24H2 and DTF-24H4.
A DigitalHeat FX DTF printer is designed from the ground up to output hundreds of transfers every hour.
While the initial steps are very similar to the DTG process, the operation and results are worlds apart.
Printing a DTF Transfer with a DTG machine
You still bring your graphic into a RIP software. The PrintOptimizer RIP software is based on the same software engine as RIP Pro for DTG so it’s VERY similar.
And you still hit print.
But while the DTG DTF is designed to print on a sheet of film, one transfer at a time, the dedicated DTF system is the opposite.
The DigitalHeat FX DTF Printer is a 24” high-speed ROLL Printer. Think of it like a large vinyl printer used for creating signs. So instead of a sheet of transfer film, you have a roll of film.
Instead of an 11”x17” sheet to work with, you’ve got a 24” wide ROLL to produce just about as many transfers as you’d like. Not a one-at-time solution!

Applying the Hotmelt Powder to the Transfer
Remember that step in the DTF/DTG process where you load the wet transfer into the tube to shake it?
With the actual direct-to-film printer there is a built-in applicator for the hotmelt powder. After the film is printed it’s run through a conveyor where the powder is evenly applied. Then the excess is shaken off automatically.

Curing a DTF Transfer
When you use a DTG printer to print on film there are a few different curing processes involving a heat press. Again, that’s 1 transfer at a time.
With the high-volume dtf printer, it’s completely different!
After the hotmelt powder is automatically applied that conveyor belt continues to push the film through a belt dryer.
Automatically.
Then the completed transfers are rolled up onto another tube at the end.

Which is BETTER?!!
Normally, the price is one way you can differentiate between a high-volume commercial product and one designed for smaller businesses or applications.
But a commercial direct-to-garment printer like the G4 and the DigitalHeat FX DTF printers are surprisingly comparable in cost, with most people spending within $5K or so for one or the other. (pricing varies and changes, of course)
Generally, then, if you plan on doing HIGH VOLUME customization and 200 or 300 transfers an hour seem like the capacity you need, then look to the ColDesi DTF printer options.
If you don’t need that kind of volume, then the G4 direct-to-garment printer is probably a great choice. You can still do beautiful graphics but now have the ability to sell transfers + do dark polyester + alternative print locations.


