If you are a custom t-shirt Printer who using using DTG equipment as one of your printing methods, you may run into DTG mistakes you would rather avoid.
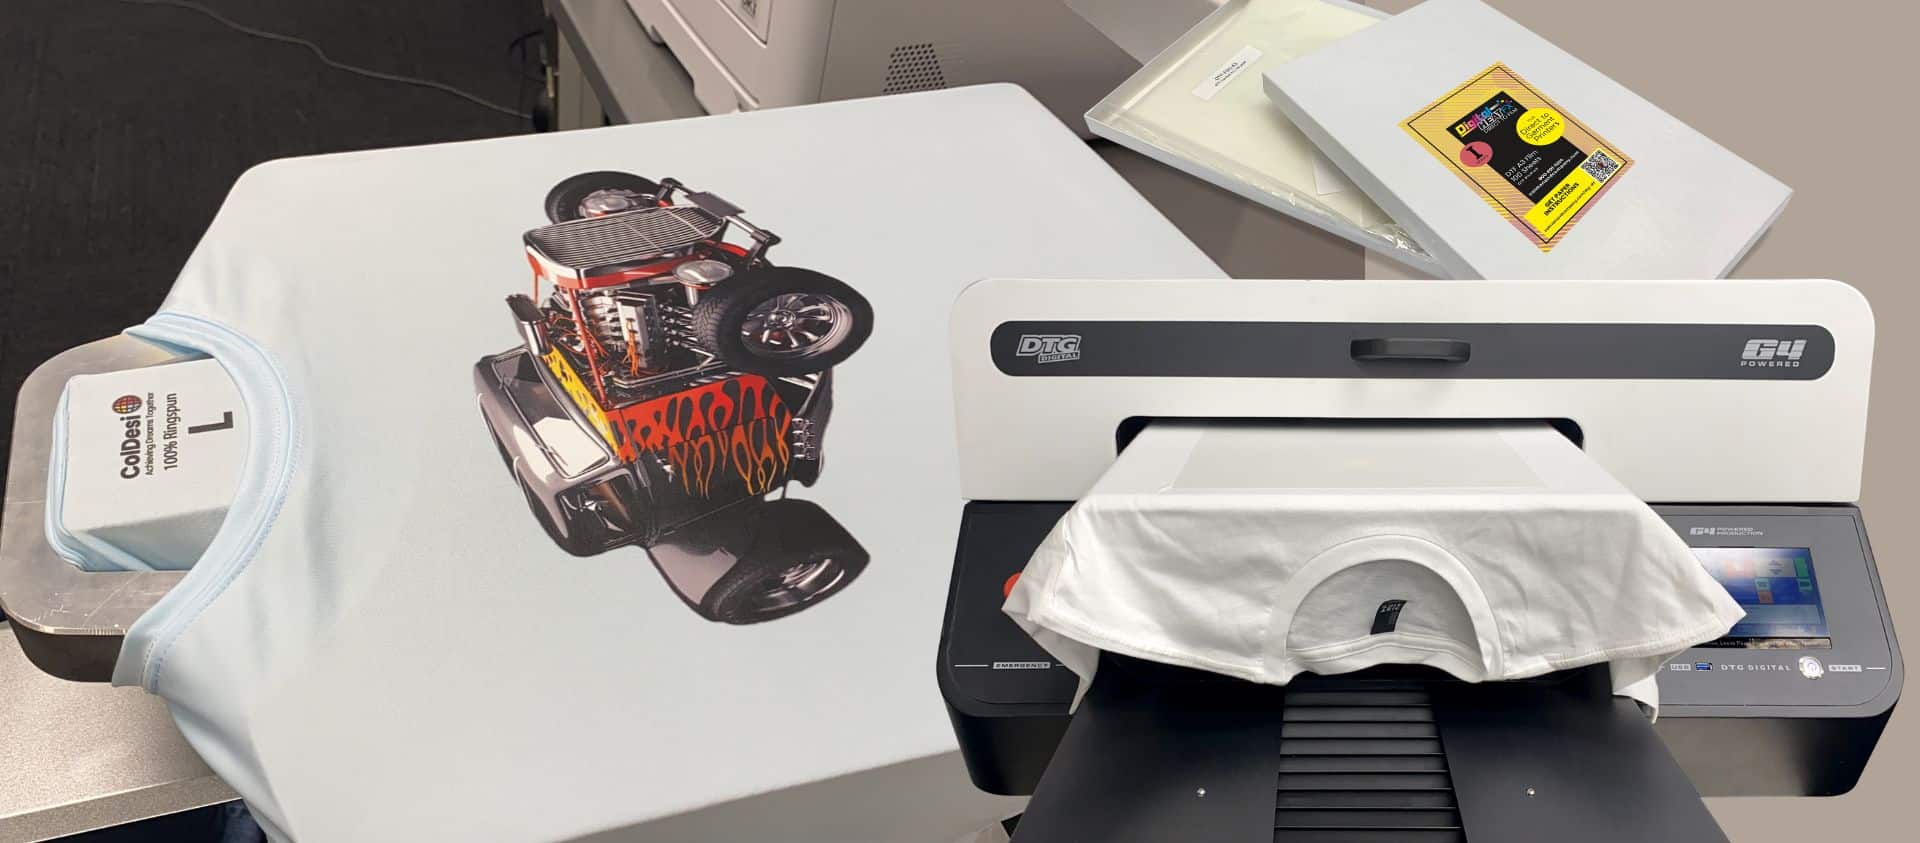
DTG Printing is without a doubt one of the easiest ways to produce high-quality, ultra-custom apparel quickly. This isn’t a transfer system, meaning this machine actually prints directly onto your shirt (hence the name Direct-to-Garment).
But just like any piece of equipment or machinery, DTG mistakes can be made. That’s even in spite of the professional self-paced training and tech support team to back you up.
In the end, the thing our pros end up trouble-shooting most often… Is a simple user error.
To save you some time and a potential headache, we are going to go through the four most common DTG mistakes that you can make when DTG printing and how to avoid them.
#1 | Pretreatment Issues
For those of you reading, who are new to DTG printing and aren’t sure what pretreatment is, note that it’s a critical part of how the DTG printing process works.
Pretreatment is what makes the ink stick to the shirt. It’s sprayed on top of the fabric you are printing on before you print.
There are several different ways that people pretreat their shirts before printing:
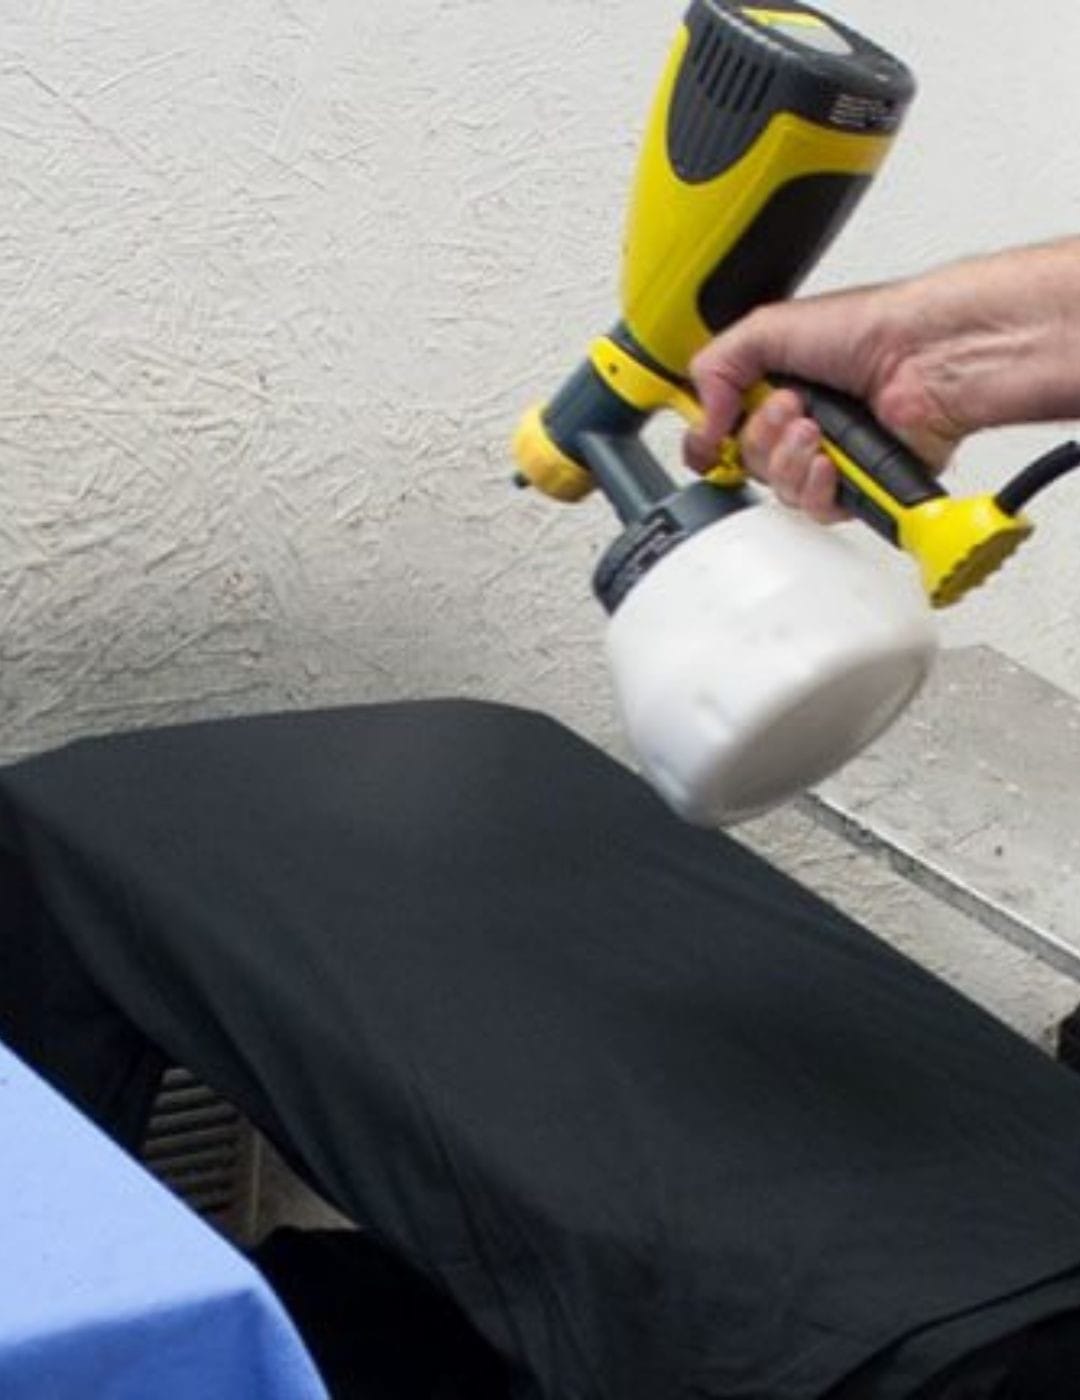
- Wagner hand sprayer (made for painting)
- Generic Household Spray bottles
- Homemade plastic container boxes
Any expert DTG printer will tell you – “DO NOT DO THESE”. It’s very attractive to save money upfront by using the least expensive way to deliver pretreat to a garment, but you’ll often pay for it in errors.
These methods just don’t work well and constantly lead to DTG printing mistakes. Here is the problem:
- Inconsistency – Each shirt is being pretreated differently (few people can control the sprayers to apply an even coat, especially after the 10th, 20th or 50th shirt!
- Uneven Spread – Areas of the shirt will have too much pretreat and others will have not enough
- No control – No control on the amount or volume of pretreatment being sprayed
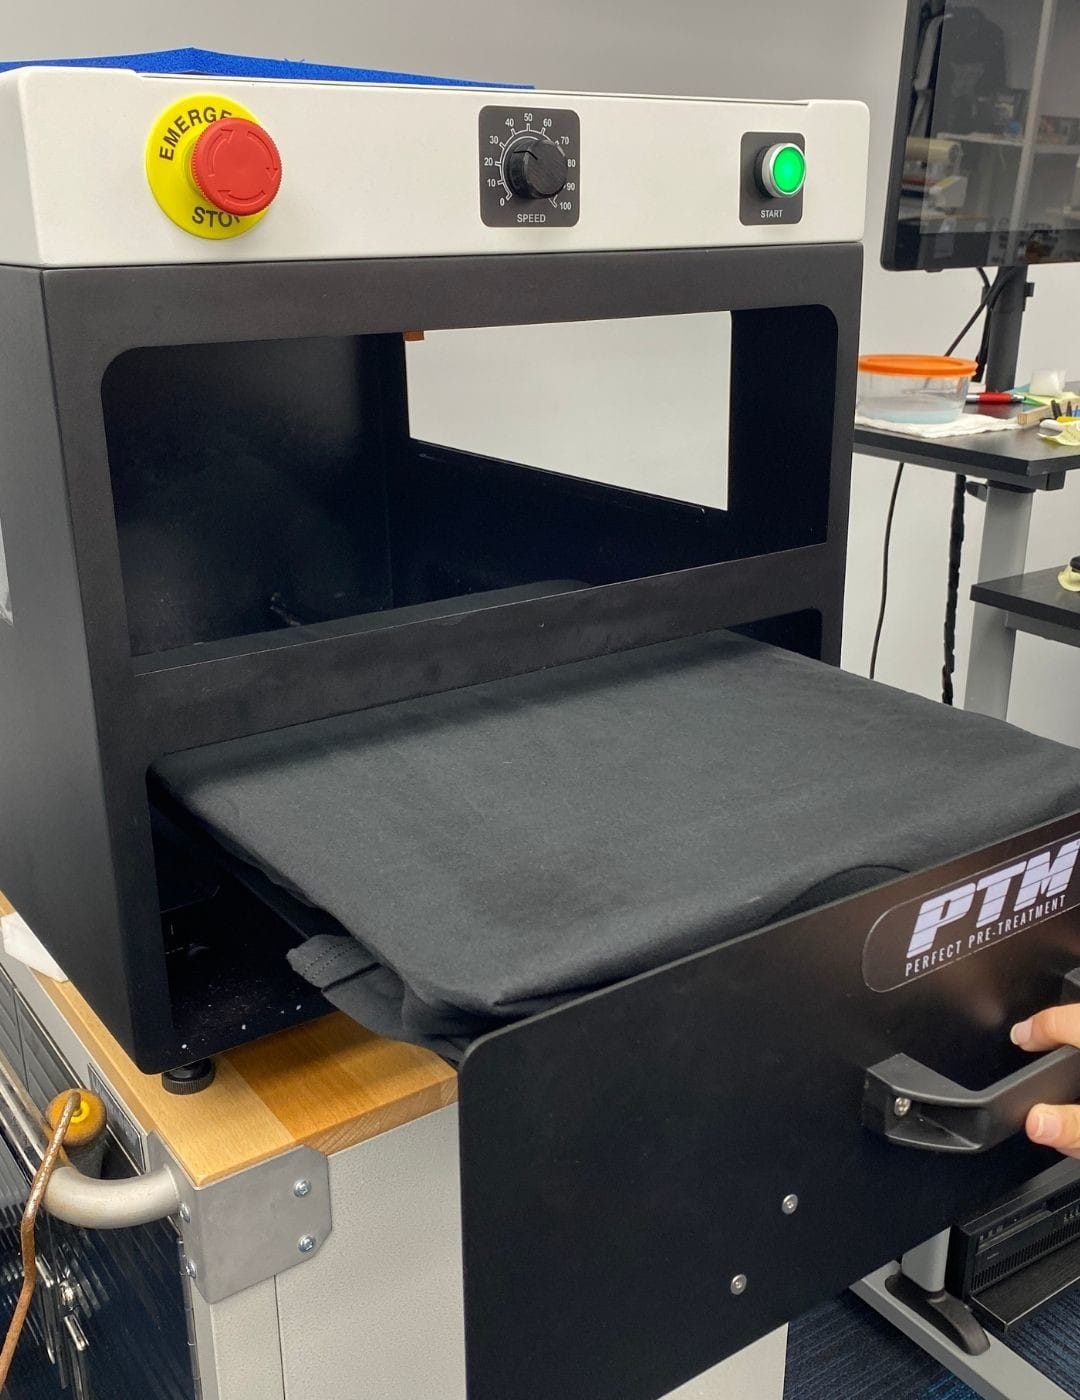
To solve this problem, we use the PTM – Perfect Pretreatment Machine.
Solution #1 | PTM Perfect Pretreatment Machine
This machine has a few features that ensure that you get the perfect pretreatment for your garment every time.
The PTM has a knob that controls the amount of pretreatment you want on your shirt. Sometimes the fabric type can affect the amount of pretreatment needed. This volume control knob makes sure that each of your shirts is getting a consistent amount of pretreatment. This way, you won’t be left with a shirt order that looks and washes differently.
It also gives you control over the nozzle length of movement. Meaning you can alter how far down you want pretreatment on your shirt.
For example, if you are DTG printing on a hoodie, you only need the chest panel pretreated. With the PTM, you can adjust your settings not to waste pretreatment liquid on the pockets.
#2 | Poor Artwork
Our second most common problem in DTG printing is poor artwork. This can be printing low-resolution files, designs having a solid background, saturation issues, etc.
But before scaring you off, if you purchase a DTG printer, like the DTG G4 from ColDesi, you are going to be thoroughly trained on your printer and what kind of artwork and files you need to use. However, if you are thinking of starting any customization business, you should have some essential art or graphics knowledge, and if you don’t – It’s never too late to start learning.
Generally, we see DTG mistakes when people try to just save photos from anywhere online and print them. Not only is this most likely a copyright issue, but it’s also not going to lead you to very successful prints.
When DTG printing, you should always use the most high-resolution PNG or PSD file type possible.
Solution #2 | ColDesi Graphics
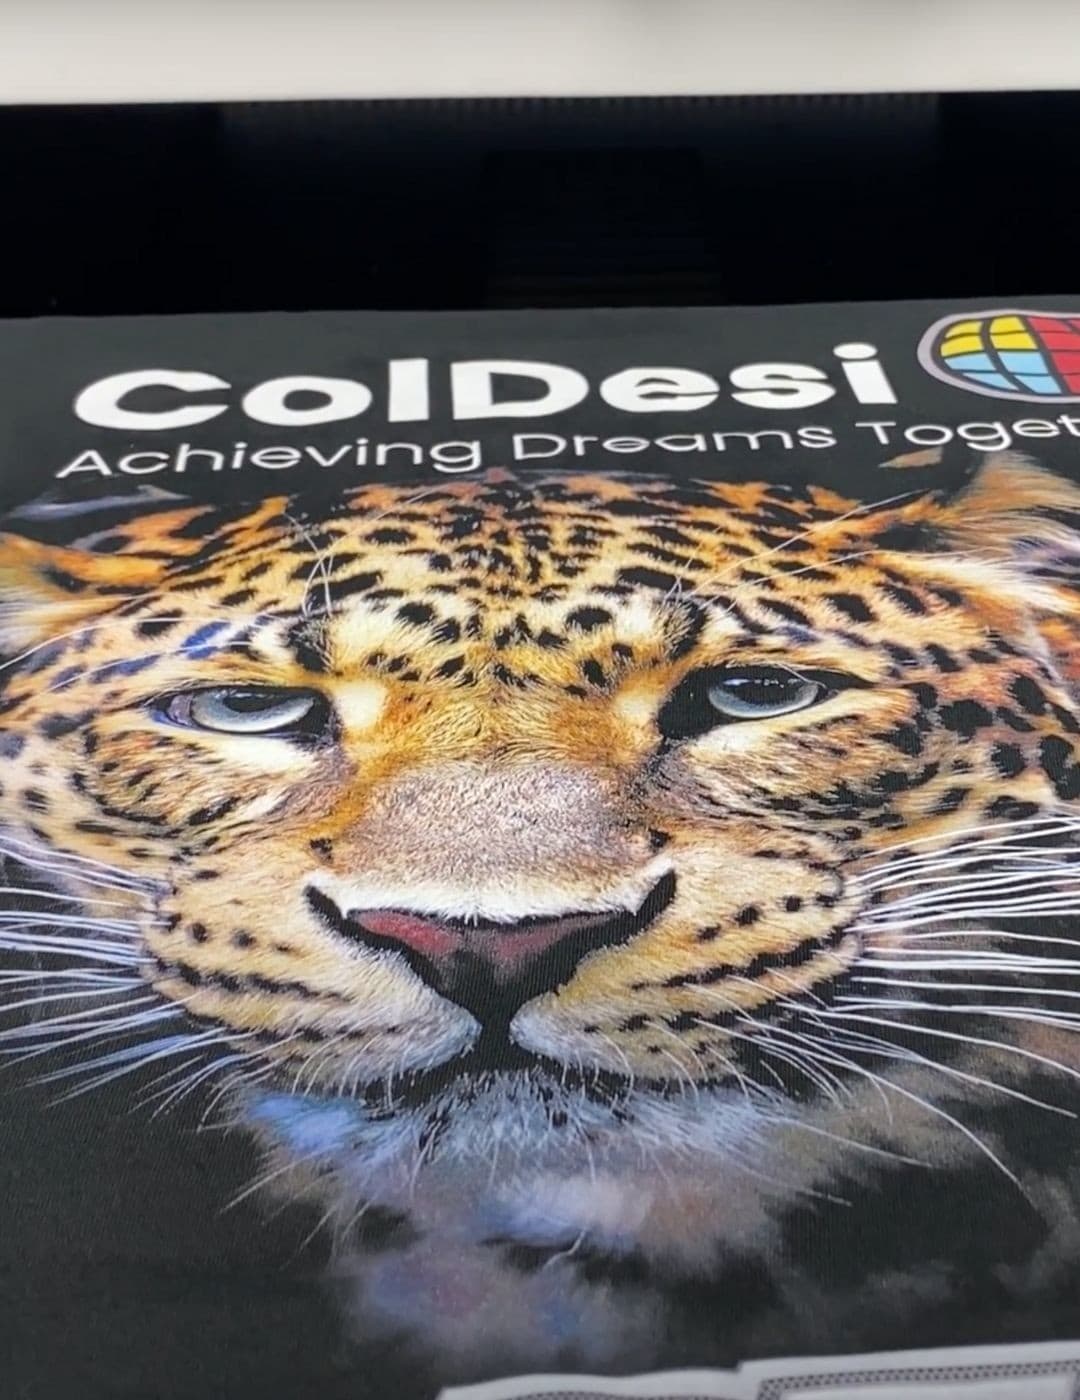
If you are new to graphic and t-shirt design or just want a great way to get great artwork efficiently, we recommend ColDesi Graphics.
ColDesi Graphics is our graphics department that specializes in producing premium graphics. They can turn fuzzy logos into print-ready files, remove backgrounds, edit designs, and create artwork from scratch.
But if you are looking for some ready to go, stock type art, here are a few ways we recommend going about it:
- Purchase from Adobe Stock Photo
- Get Subscription to Deposit Photos
- Buy Art Bundles on Etsy
- Edit templates on Canva
Just make sure that you order a license specifically for t-shirt printing and/or reselling the image! This is different than if you were going to use it on a website, for example, and much more pricey.

#3 | Improper loading of garment
The number one way to make a customer grumpy from DTG mistakes is by giving them shirts with improper or inconsistent graphic placement. When designs sit too high or too low, too far to the left or right, they just don’t look right! And customers notice these things.
Improper loading of your garment can be several things
- T-shirt is not lying flat
- Crooked
- Printing on wrong side
Traditionally when DTG printing, you have some kind of platen that you place your shirt on along with some sort of hoop or frame that you push onto to secure the shirt into place.
It’s time-consuming, tedious, and, quite frankly, leads to many design placement errors. Once that shirt is “hooped,” you can’t adjust it without “hooping” it again.
This is where some DTG printers will make the mistake of thinking to themselves – “looks good enough to me!” and press print.

Solution #3 | Vacuum Platen
ColDesi’s DTG G4 printer features a patented vacuum platen that really solves this issue.
When you put a shirt or any garment on the platen of this printer, a strong vacuum is going to pull it into place so that it’s nice and secure. Users can then easily tug the sides of the shirt to position it in place properly and get out any wrinkles. It also gives a better visual of your shirt and where your design will print.
The patented vacuum platen on the DTG G4 does more than this, though. It also dramatically reduces machine maintenance.
Some DTG printers will get messy shirts with random inks just because of the purse dirtiness of the inside of their printer. This is because the vacuum platen sucks the ink into the shirt, so it’s instead of floating around in your printer, it’s all going deep into the fabric.
#4 |Failure to Set Proper Head Height
ColDesi’s DTG G4 printer features a patented vacuum platen that really solves this issue.
When you put a shirt or any garment on the platen of this printer, a strong vacuum is going to pull it into place so that it’s nice and secure. And that prevents many of the most common DTG mistakes. Users can then easily tug the sides of the shirt to position it in place properly and get out any wrinkles. It also gives a better visual of your shirt and where your design is going to print.
The patented vacuum platen on the DTG G4 does more than this though. It also greatly reduces machine maintenance.
Some DTG printers will get messy shirts with random inkstands just because of the purse dirtiness of the inside of their printer. The vacuum platen sucks the ink into the shirt so it’s instead of floating around in your printer, it’s all going deep into the fabric.
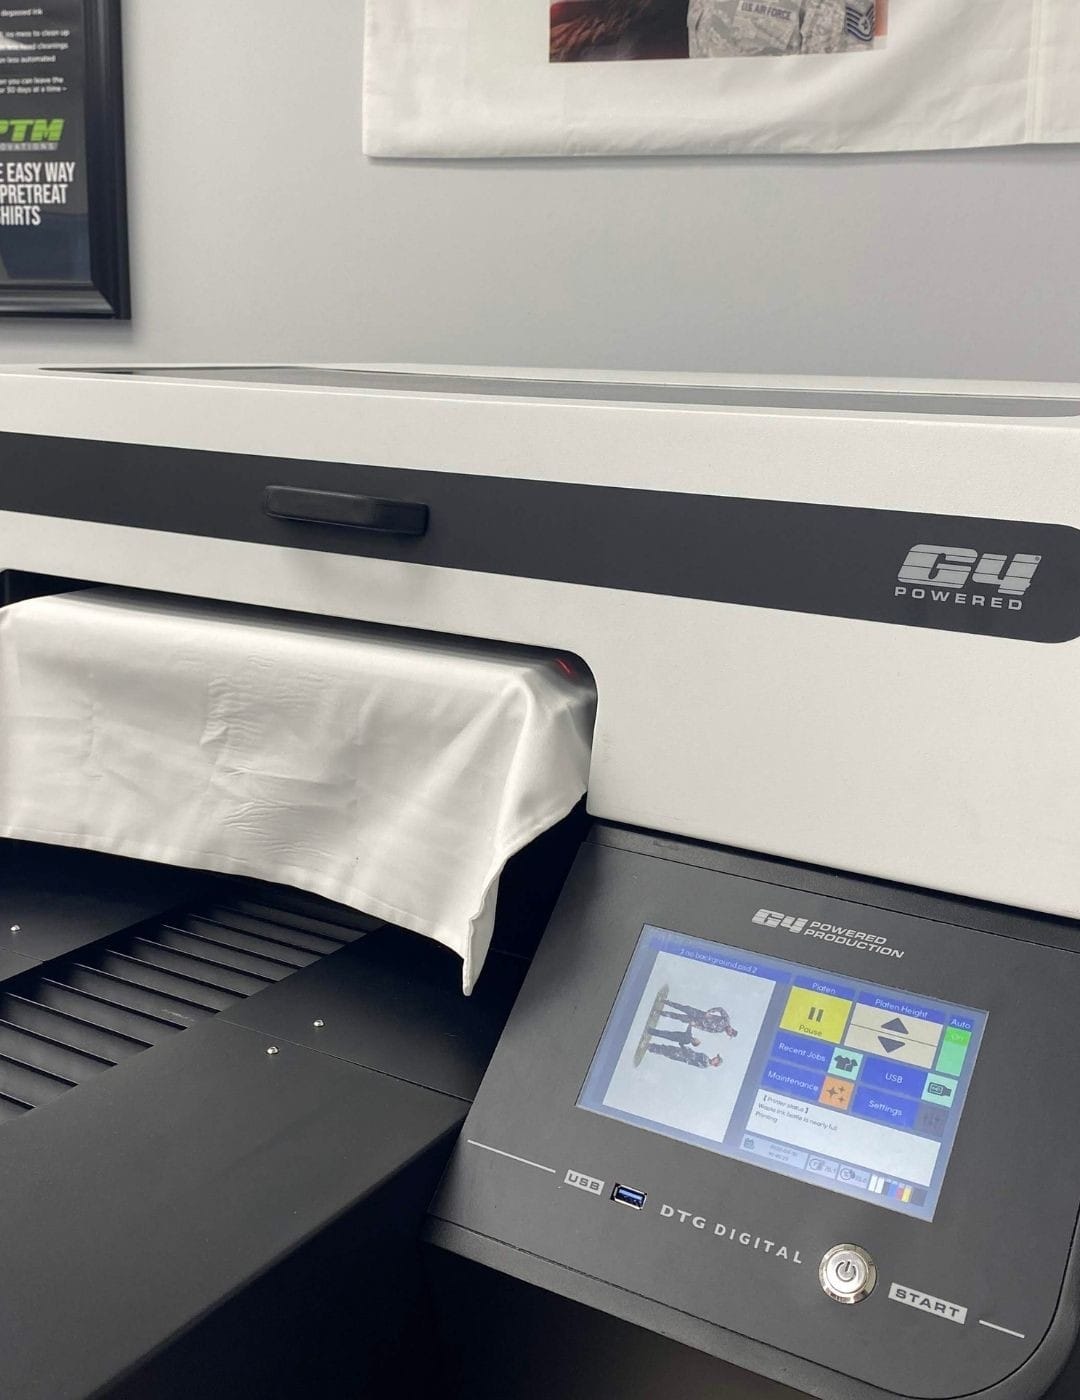
Solution #4 | Automatic Loading System on DTG G4
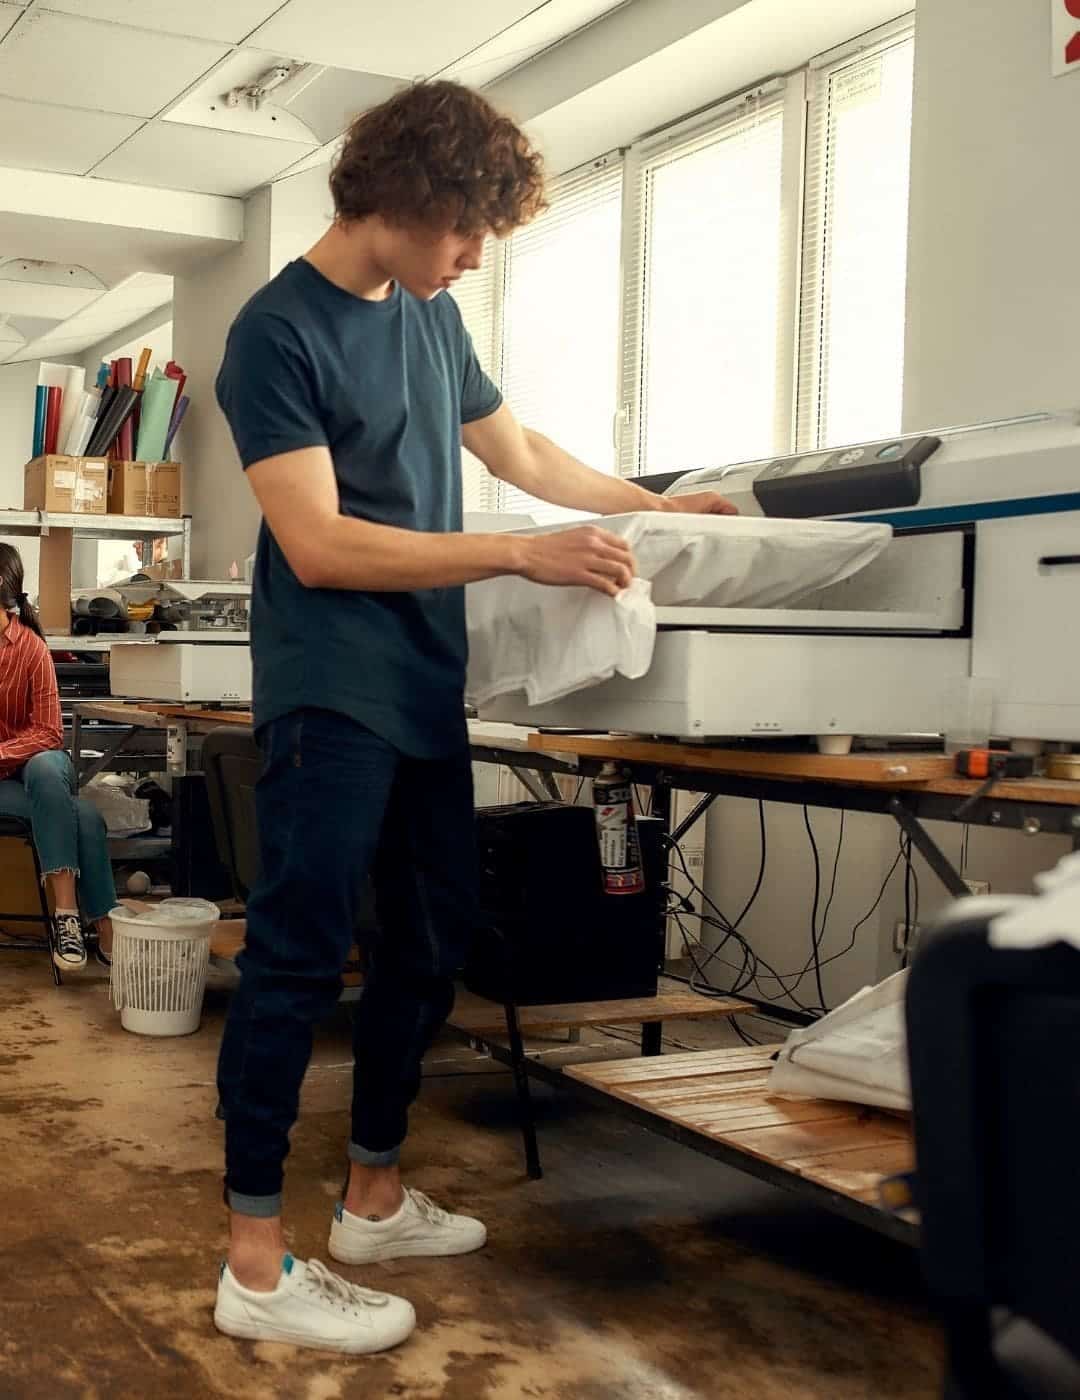
This issue is no longer a thought or a problem for those with the DTG G4. The G4’s loading system features automatic height adjustment. So, when you load your shirt, it’s going to move the platen up and down for you into the perfect position.
This is great for when you do tons of different types of garments. For example, you can switch from a lightweight cotton tee to a heavy sweatshirt without having to do anything!
How to Start Your DTG Business Successfully
So, you’re thinking about buying a DTG printer, but you don’t want them to run into any of these mistakes. Well, the machine you buy and who you buy from MATTERS!
Going with a cheap route with an important piece of machinery is never a good idea. T-shirt printers included…. If you are buying second-hand, the person selling that printer is probably upgrading to a new DTG printer that avoids the problems the old one faces.
Think about the investment you want to make in yourself and your business and determine what’s going to help you be successful faster.
And finally, training and support matter!
ColDesi offers live online, and self-passed training courses so you can become an expert on your equipment. But the help doesn’t stop there. ColDesi has a team of DTG pros in-house that truly know and understand how these printers work. Our support team is here if you run into mistakes!
If you are ready to learn more about the DTG G4 click on our live chat module to the left of your screen and say hello! We look forward to hearing from you.


