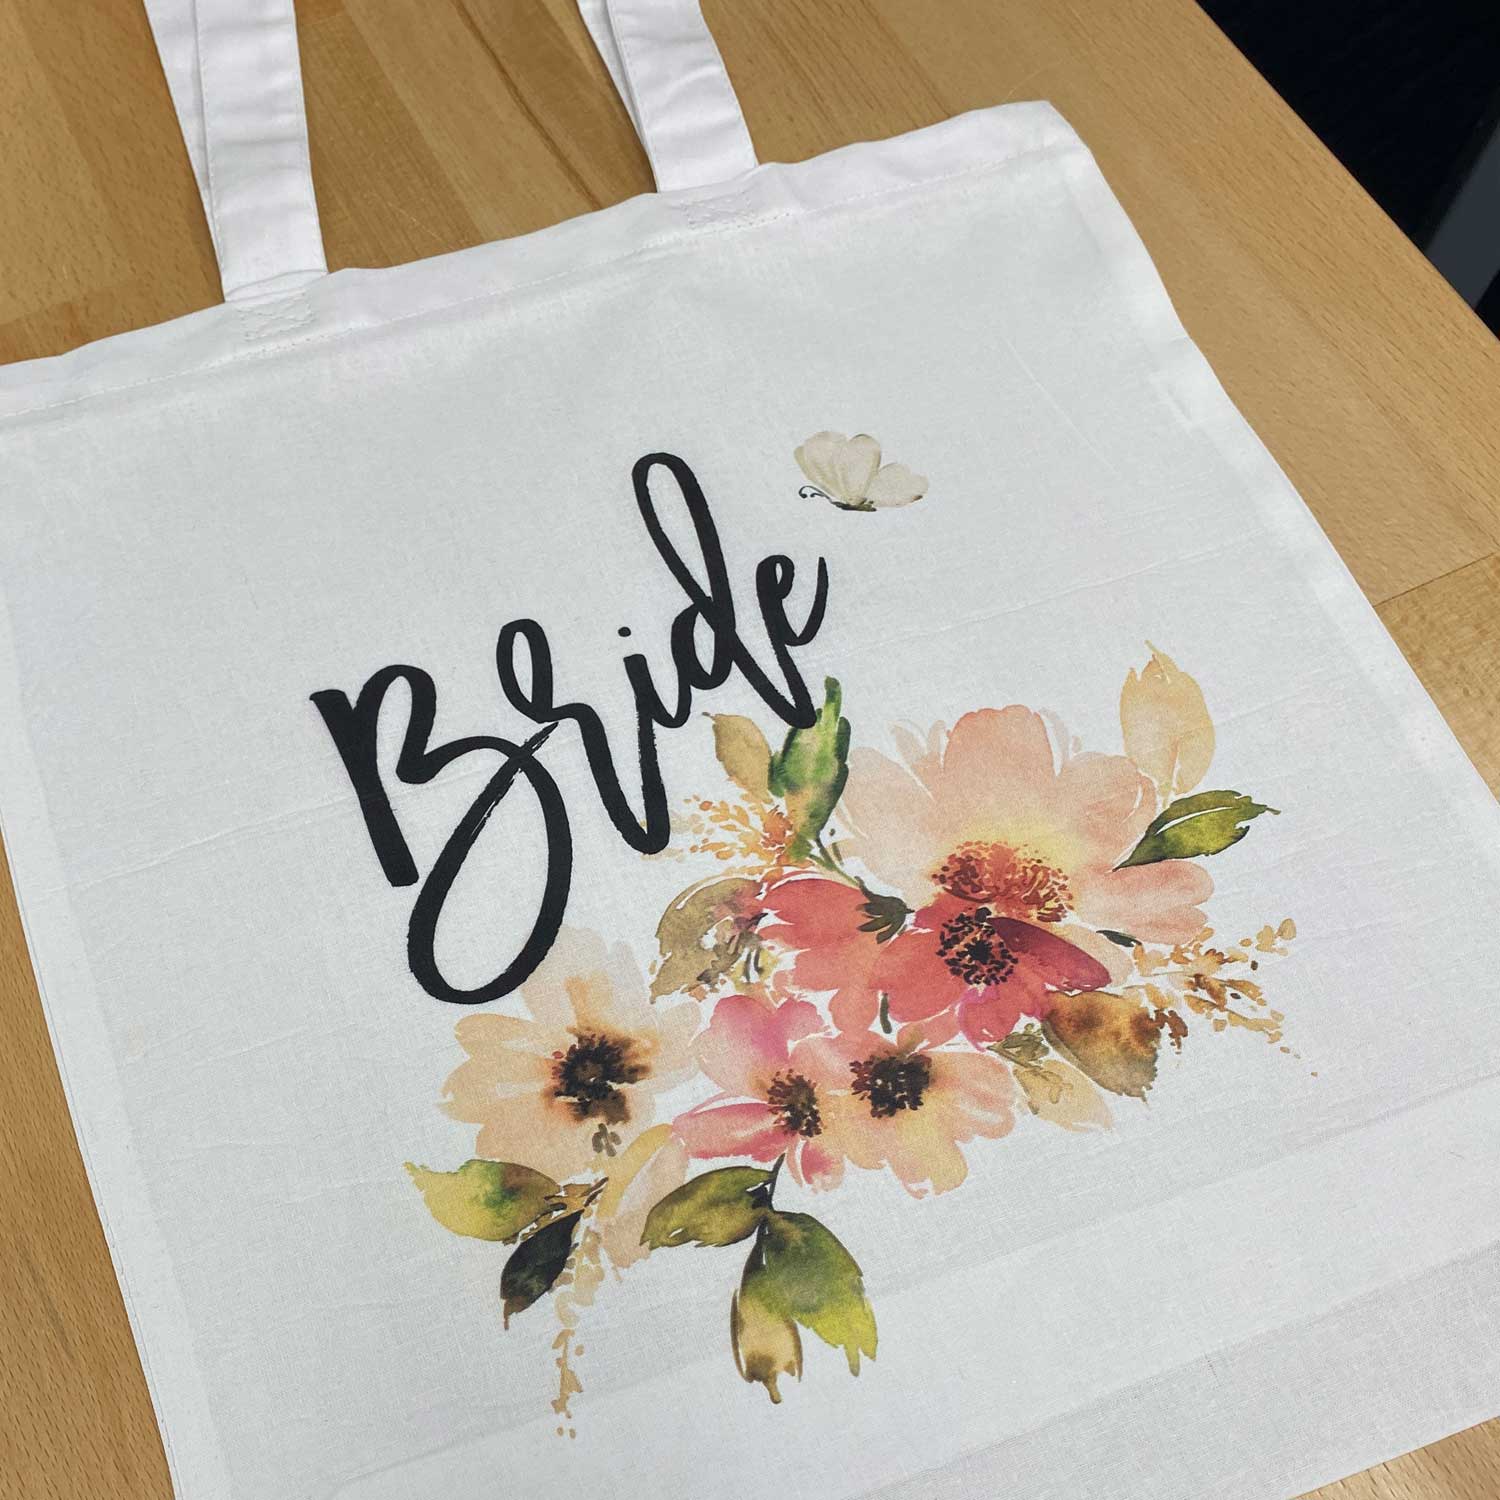
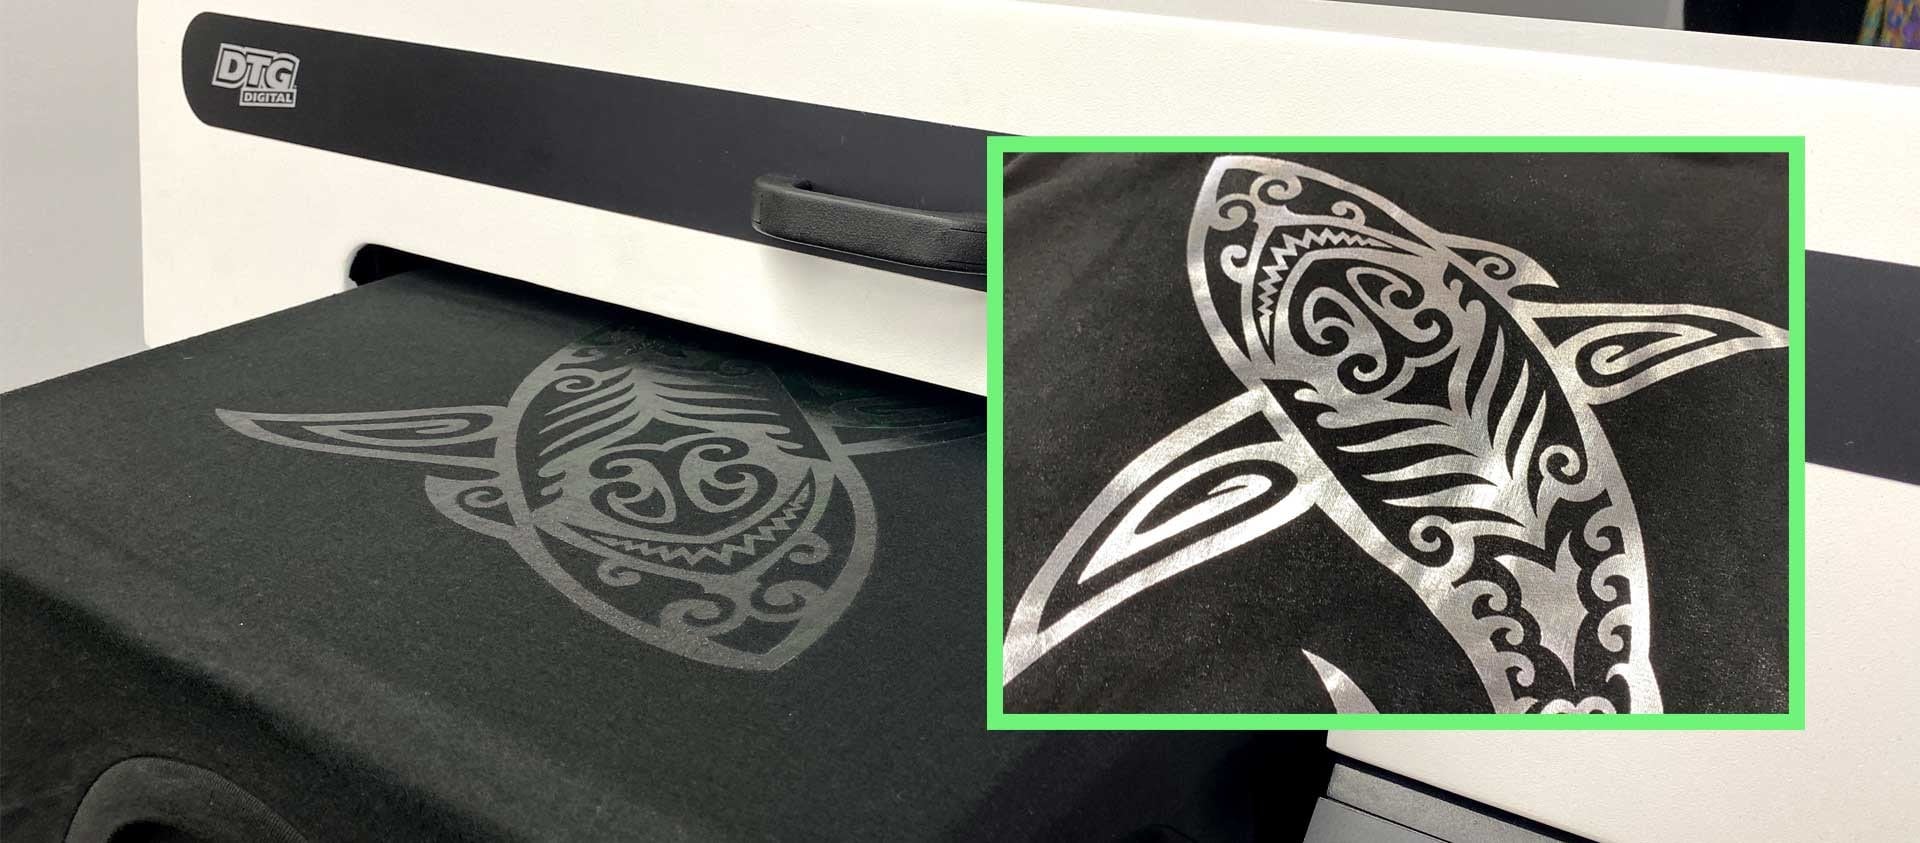
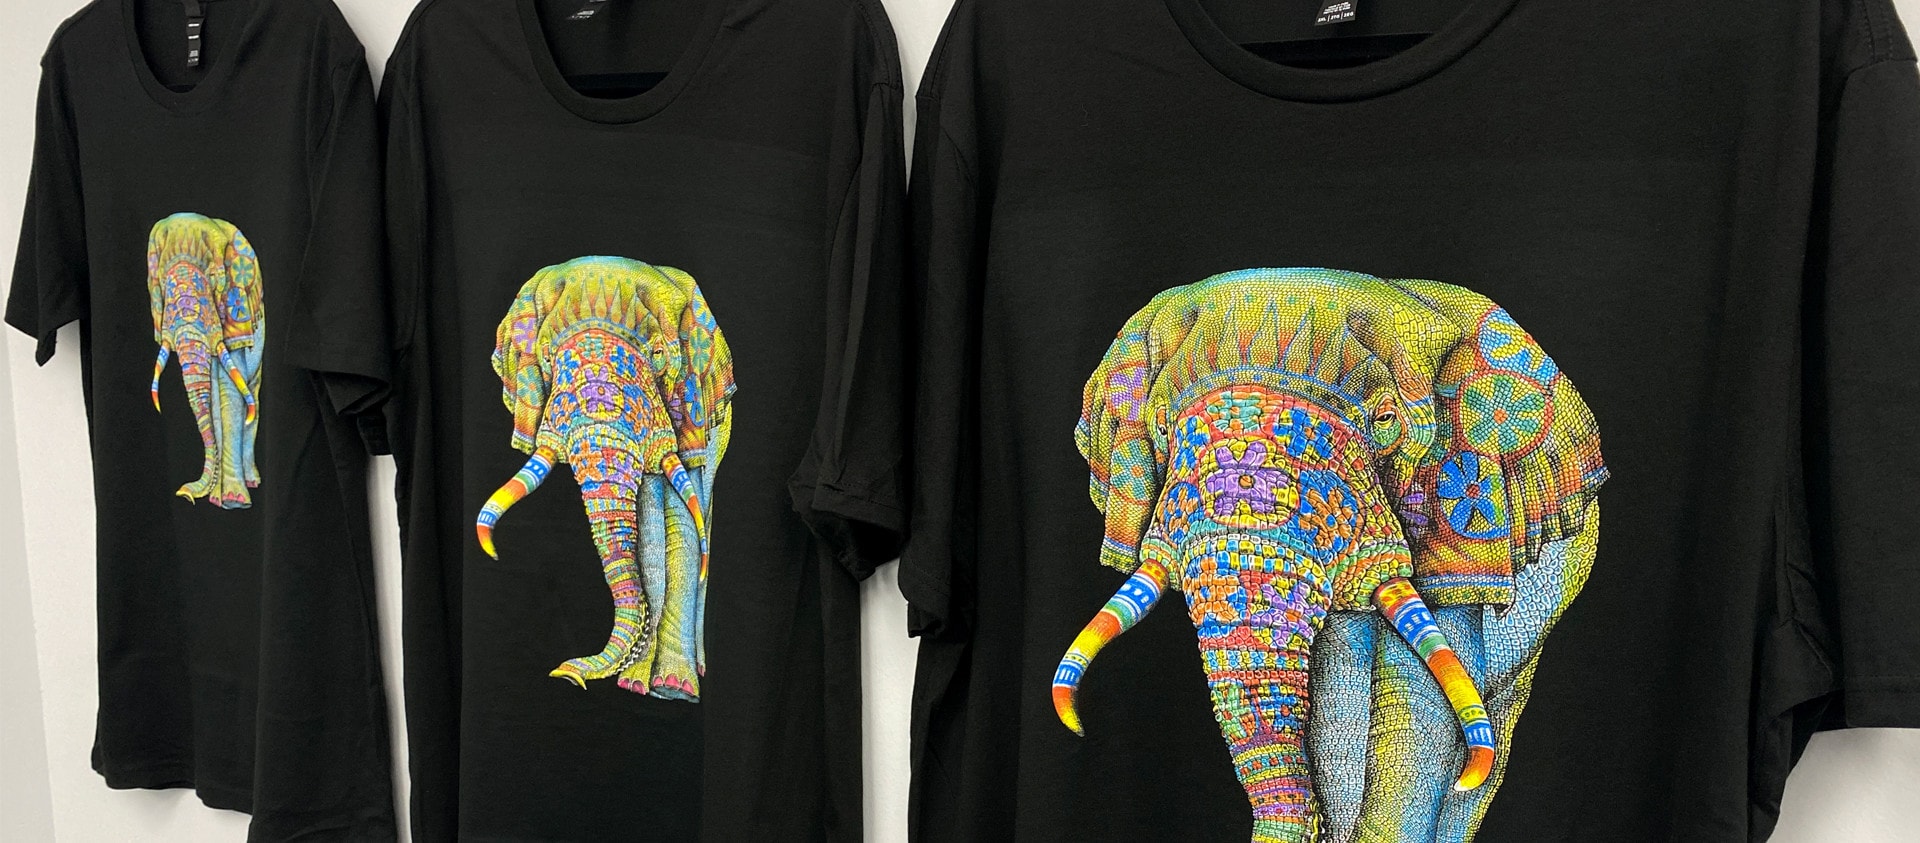
DTG Printing is our new favorite way to decorate cotton tote bags. The Kodak Inks on the DTG G4 are super vibrant and create the most beautiful, finished product.
For this project we are decorated five custom tote bags for a bridal party. The designs are cohesive yet are unique with each bridesmaid’s name.
The totes used are 100% cotton, come in four different colors and are a great value price. Plus, they are in stock & ready to ship on colmanandcompany.com.
Let’s go through the steps we took to get these bags ready for the bachelorette party.
Step One: Pretreat
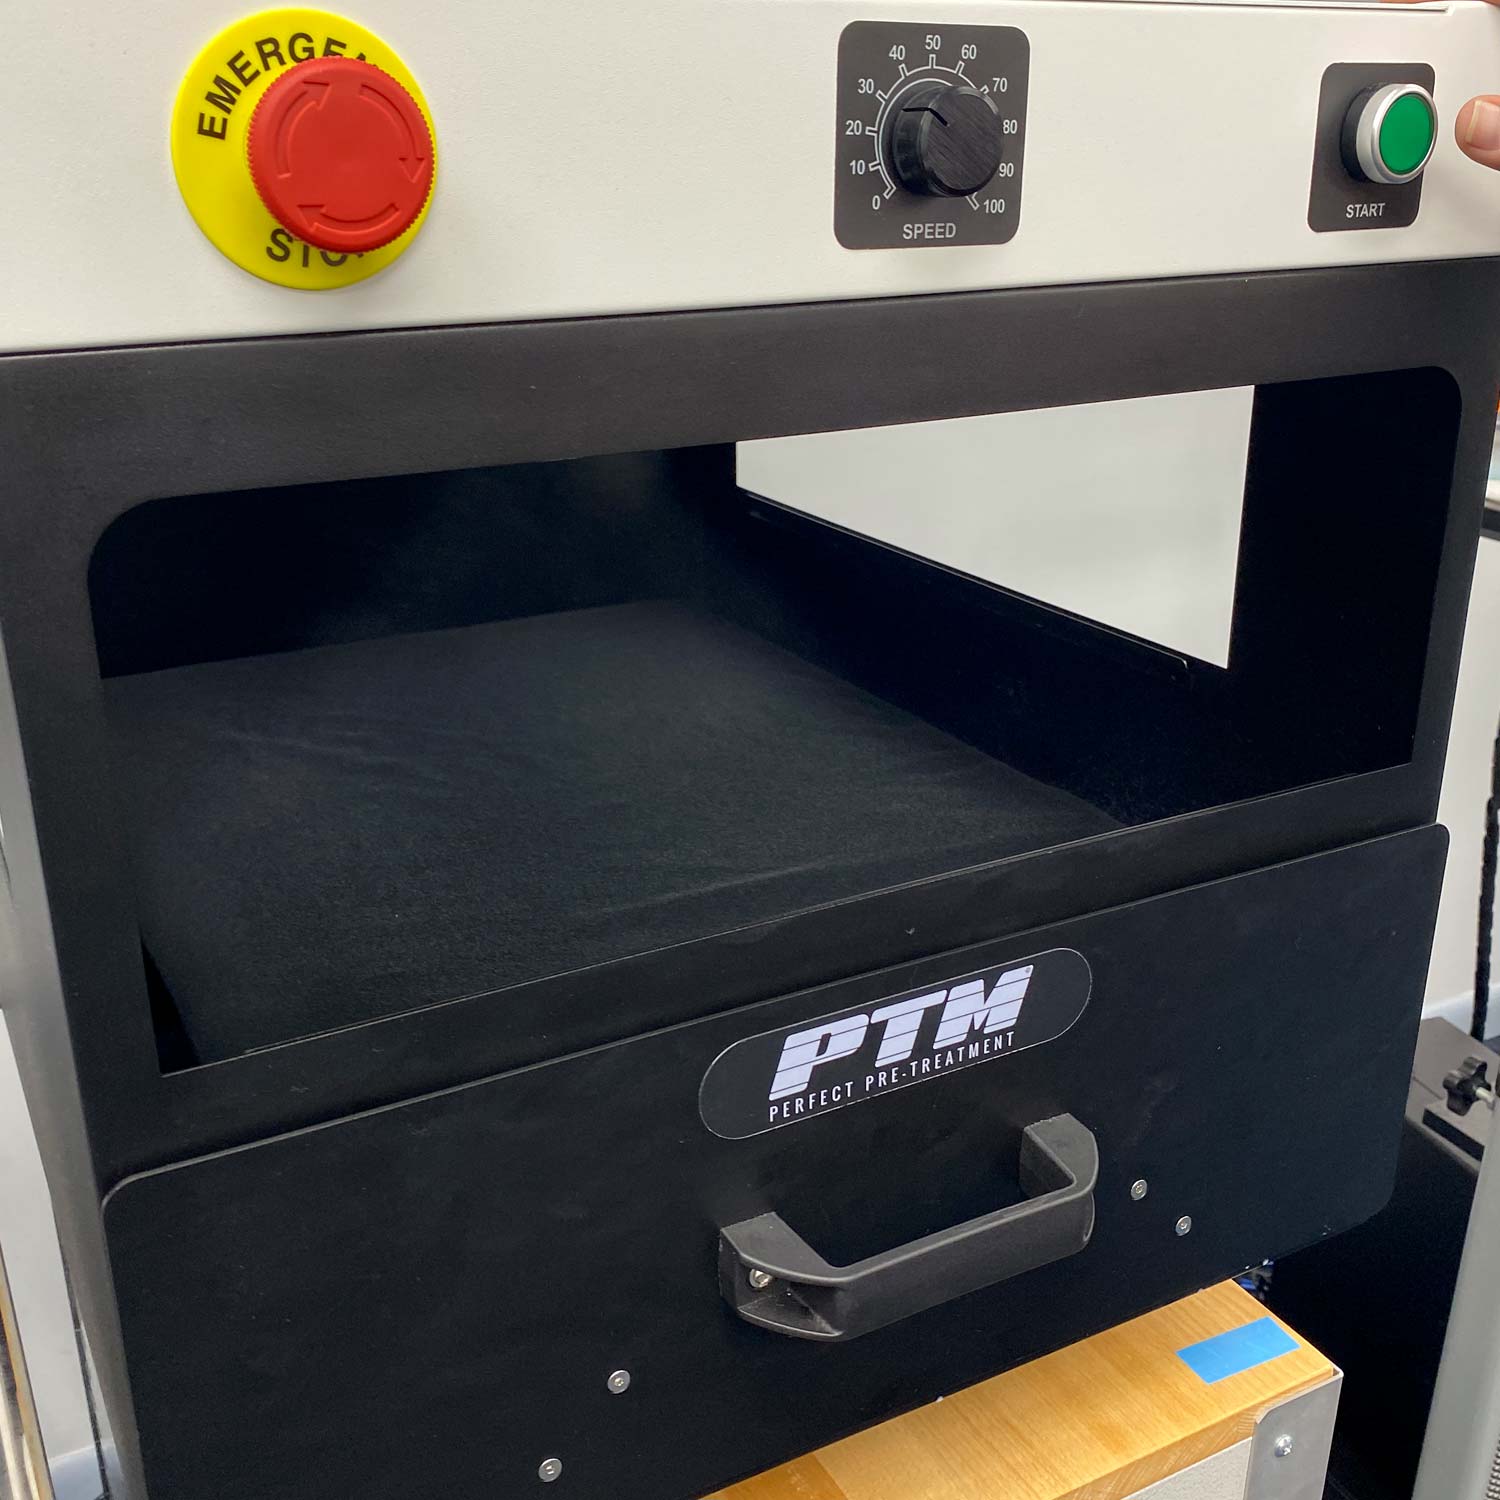
First you want to pretreat the tote bags. Pretreat is important for making the DTG ink stick to your fabric. It also helps you get the most vibrant colors.
Often DTG printers will skip the pretreat step with white and light-colored fabrics. This can lead to poor washability and dull prints. So, we always recommend using pretreatment solution for the DTG G4.
The PTM Perfect Pretreatment Machine is the best way to prep material for DTG printing. It ensures you get a perfect and even spread of pretreatment every single time.
After you pretreat the bags you will heat press them for 45 seconds to dry them.
Step Two: Preparing the Vacuum Platen
The patented vacuum platen on the DTG G4 makes printing super easy. With t-shirts all you have to do is just lay the garment over the platen and the vacuum sucks it into place.
The direct-to-garment printer automatically adjust the height of your bed, So you have to do a couple things with the totes bags to make sure our print head doesn’t get confused.
We like to say, “be smarter than your printer!”
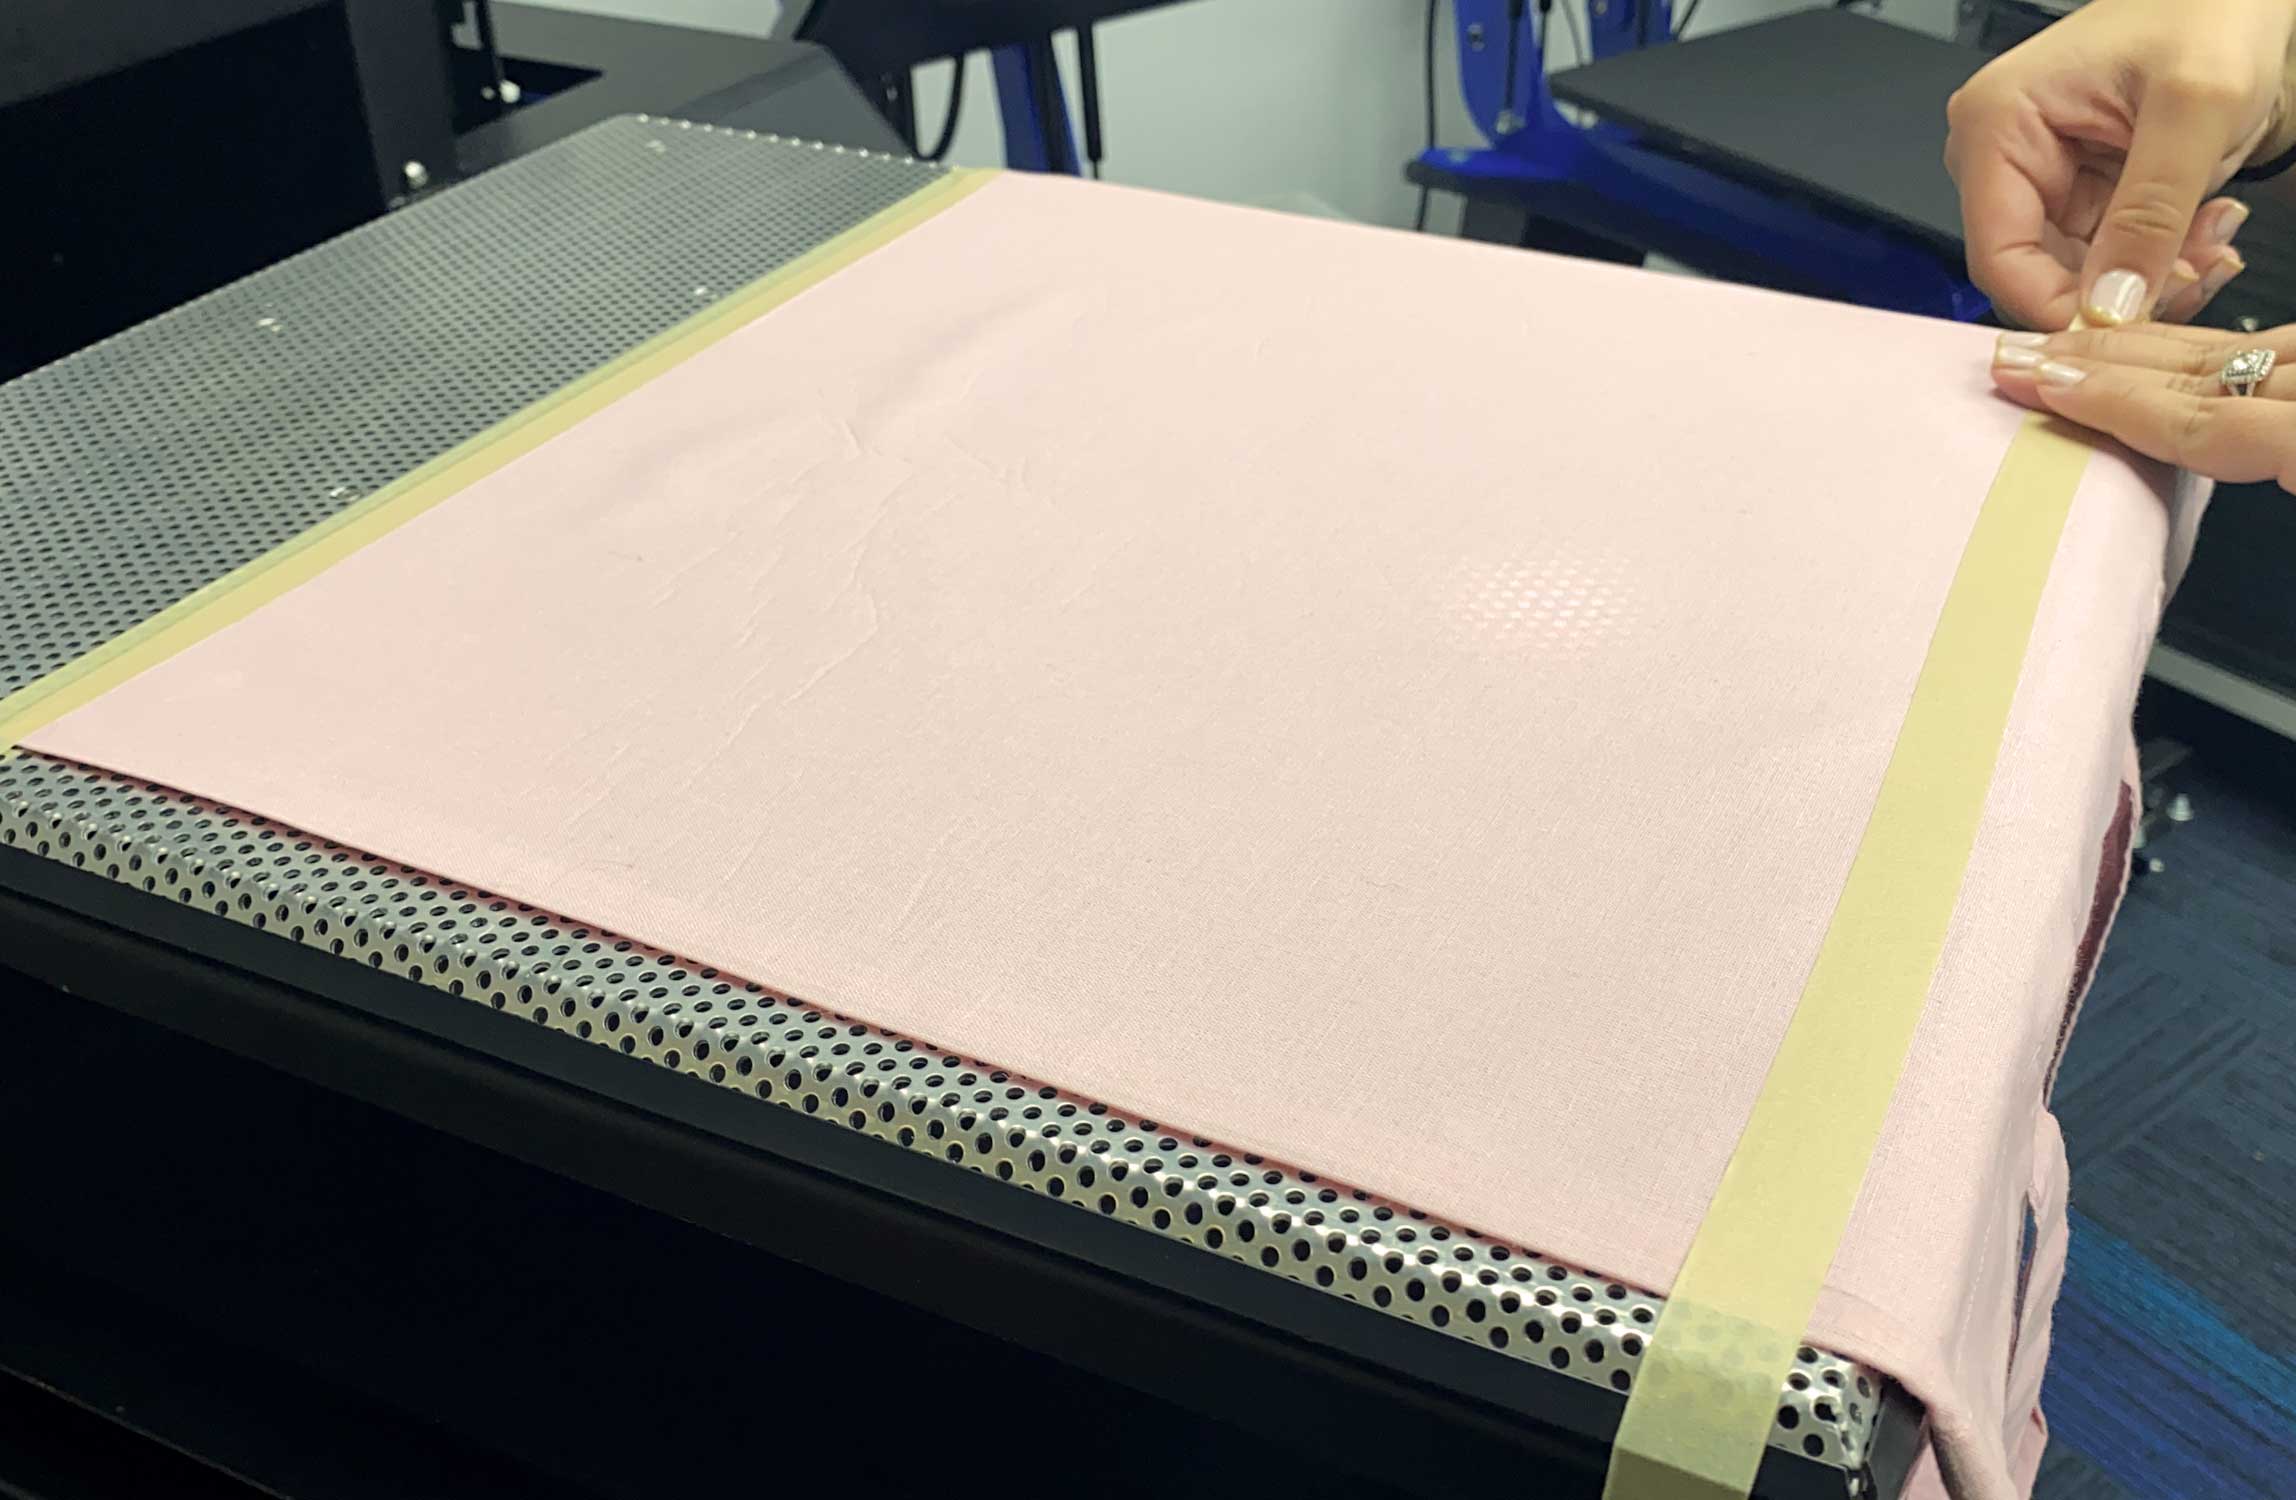
Some simple scotch tape will do the trick. Lay strips of the taps across the top and bottom of the bags, this will strap down the areas that could lift and affect our print.
Then we leave our tape in place, so we know exactly where to place it each time.
Step Three: Printing
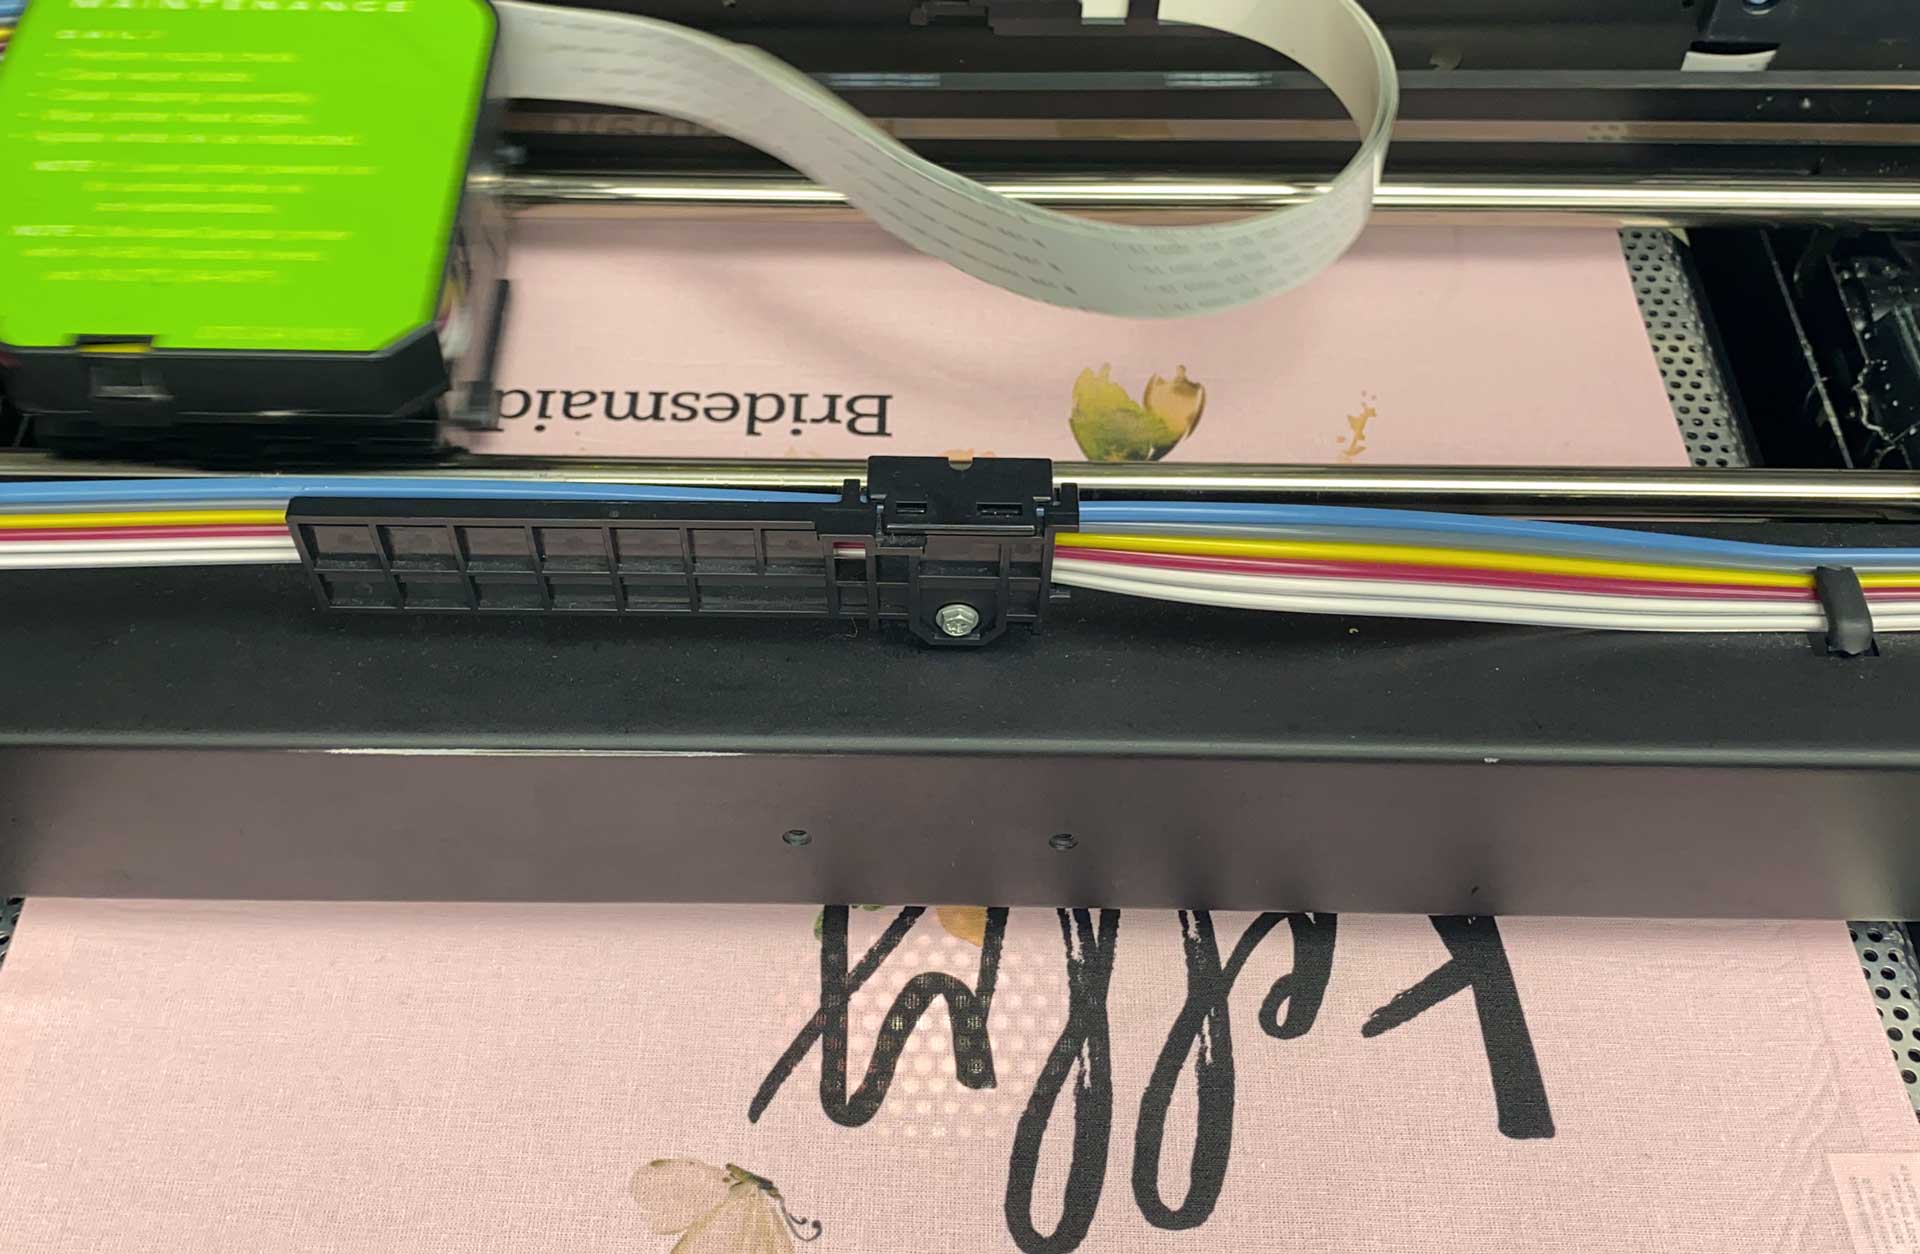
All of our designs are simple PNG files so we can just send them all to our printer and have them loaded up and ready. The G4 has a built-in print memory so I don’t need to go to my computer every time I need to print.
I can select my design from the touch-screen control panel and let the printer get to work
For these bags we selected our highest quality print mode. Print time for each bag was about 1:30. But this time could have been reduced with a lower print mode and they still would look wonderful.
Step Four: Finishing Press
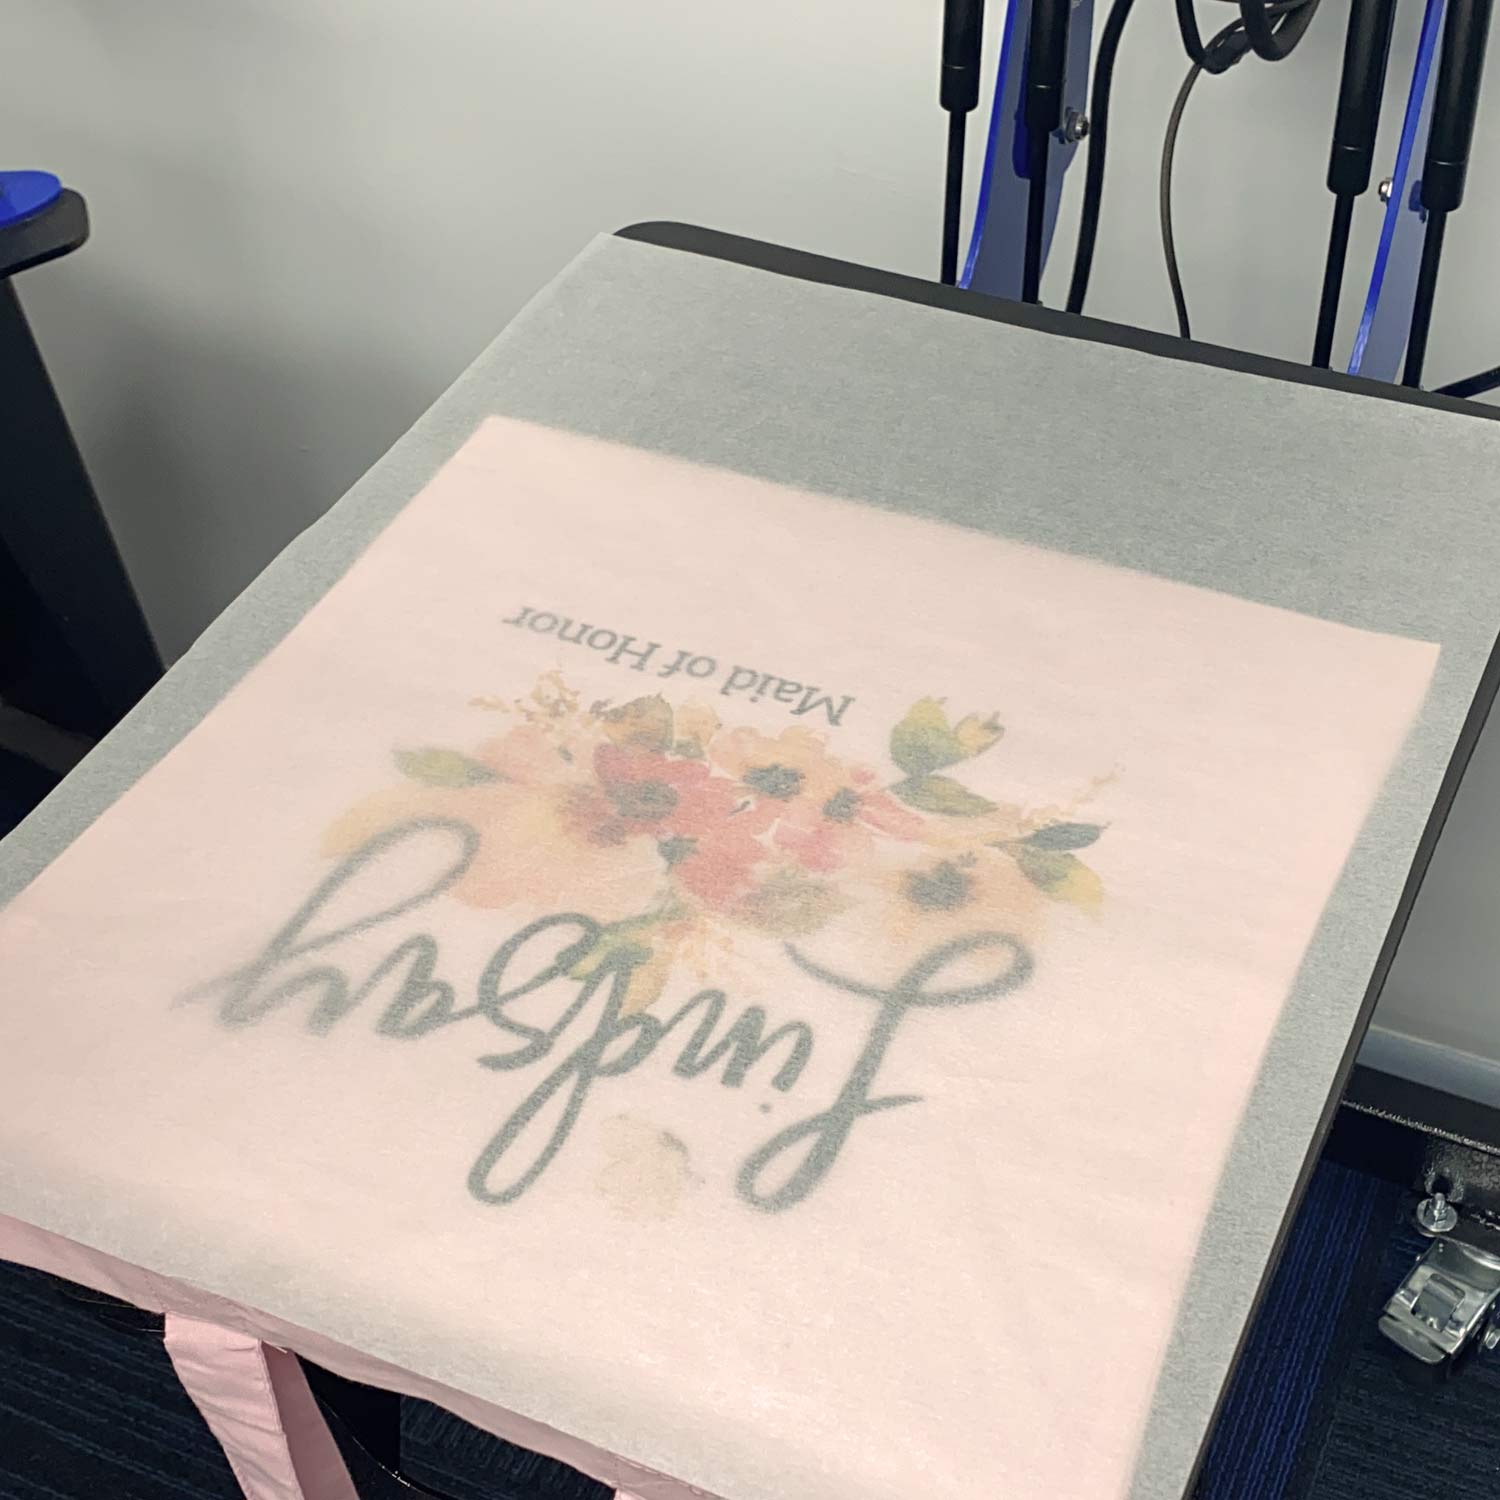
When the tote bags are done printing, the DTG ink is not dry yet. The Kodacolor ink needs to be pressed for :45 seconds to dry the ink.
We will keep the bag straps hanging off the edge, so it doesn’t affect the pressure when curing the ink.
Our favorite heat press for DTG printing is the GeoKnight DK20. It has an auto popup feature, this way you don’t have to worry about burning or scorching garments.
Now your custom tote bags are finished and ready to be filled with other goodies!
Selling DTG Printed Bridal Party Gifts
Brides and bridal parties are always looking for little gift items like this – YEAR-ROUND! The selling opportunity does not end with the tote bags. This group will want shirts, drinkware, maybe keychains, makeup bags, and SO MUCH MORE.
The more customization equipment you have the more you can become the one stop shop in the wedding market!
Unlike embroidery or screen printing, The DTG G4 is great for custom art because it takes no extra time or effort to do different names in one job.
If you embroidered these, you would need a separate digitized file for each design. And good digitizing takes time and money.
If you screen printed these, you will need a different screen for each name. and odds are you would never reuse these.
And that’s just a couple reasons why digital printing is the best option for making custom items…
To learn more about getting your business started or expanding your business with DTG printing, visit dtgprintermachine.com
