Printing with Foil – G4 DTG Printer
So you want to bring some zing to your direct to garment printed shirts? How about using foil to highlight your design?
Adding foil to a DTG print can be relatively simple. Below are the steps for using foil with your DTG G4.
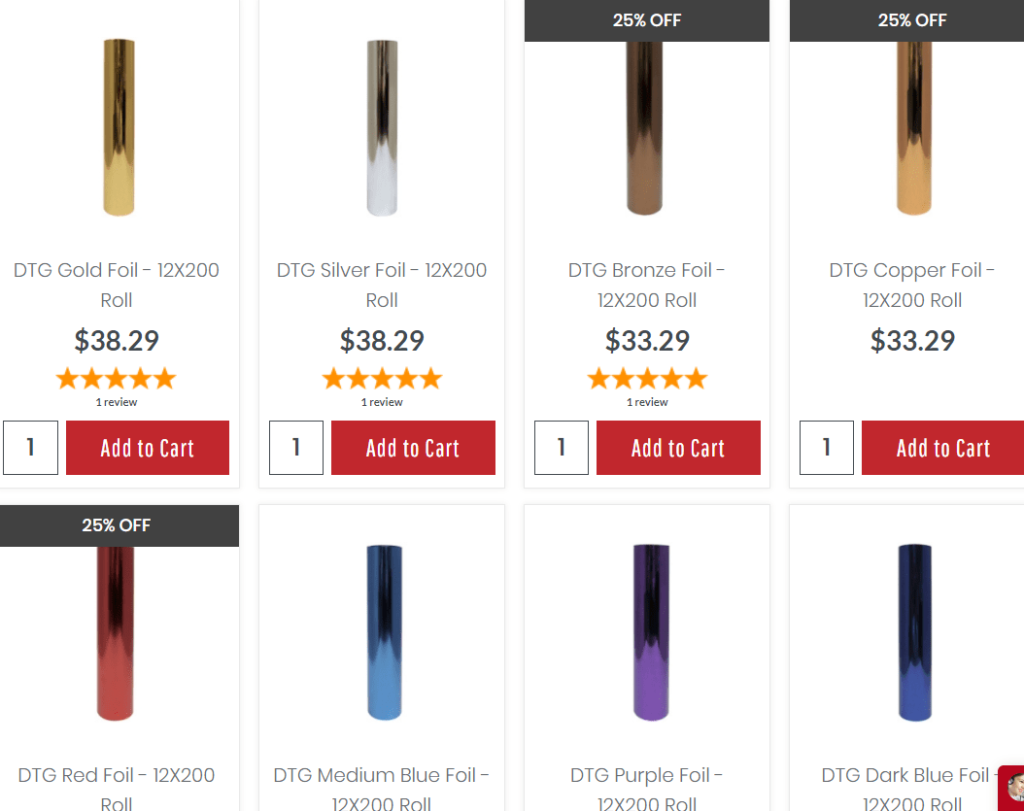
Decide what color foil you want to use. Colman and Company currently offers 9 different colors of foil – https://colmanandcompany.com/DTG_Foils.html
How to Print Metallic Effect with DTG Foil
The following “How-To” is specifically for the G4 DTG Printer from ColDesi. But the foil material and general technique should work with any direct to garment printer.
Choosing and Creating Artwork
You will probably find it much easier to stick to single color or 2 color designs when doing metallic prints with DTG.
Because the key to getting a bright, reflective foil image is to color your design to be foiled as close to the color of the foil you will be using.
Examples would be grays for silver foil, yellows for gold foil, oranges for copper foil, etc.
The tribal shark artwork we chose from iStock.com was a single color design (an .eps so we could scale it up for a big, impressive print!). We knew we were going to use the silver DTG Foil so the shark was printed in gray.
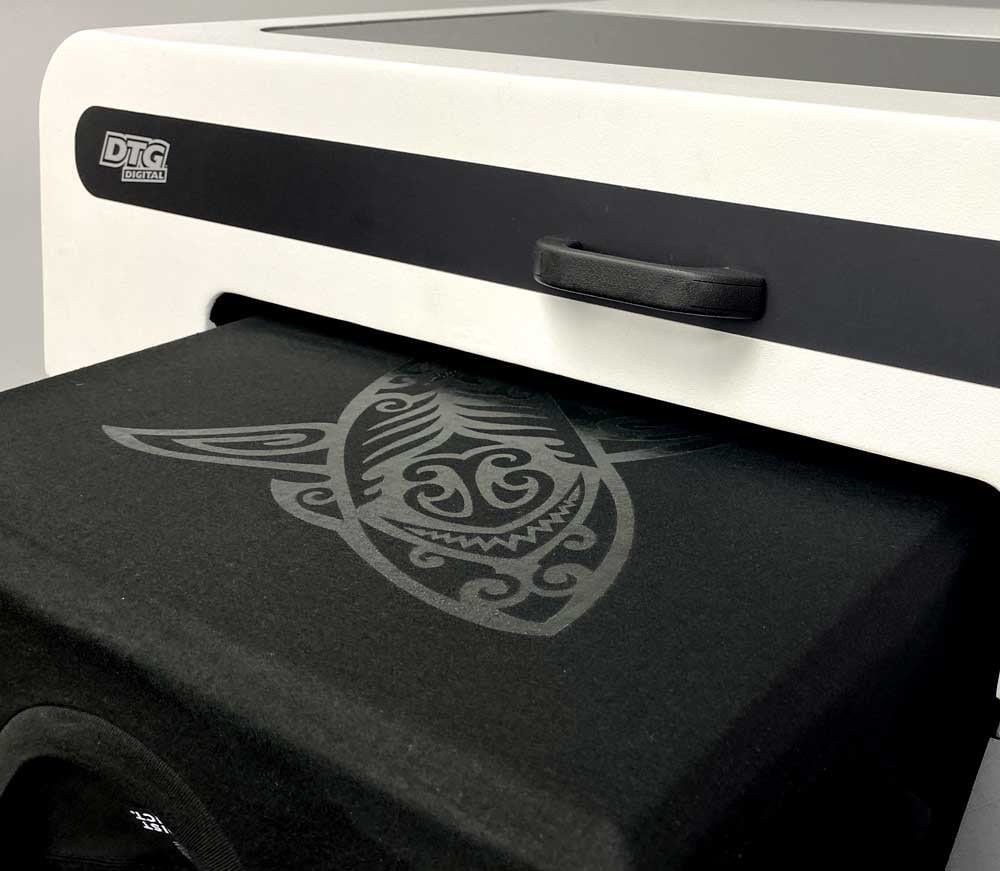
Steps to Printing with Foil
Preparation
In order for the process to work you will need to put down a white base (even if printing on a white or light-colored garment).
This makes the color ink set on top of the garment where it can form a bond with the foil.
Open your artwork in the black or color shirt graphics queue in your DTG C7 RIP software.
Before you send the job to the printer you will want to double click on the job in the queue and select the color layer dropdown and under the layer tab change layer count to 4. This will print the color layer 4 times to build up enough ink to attach the foil when pressed.
Once this is done pretreat the garment with the dark garment pretreatment and print just as you would a normal shirt.
Application
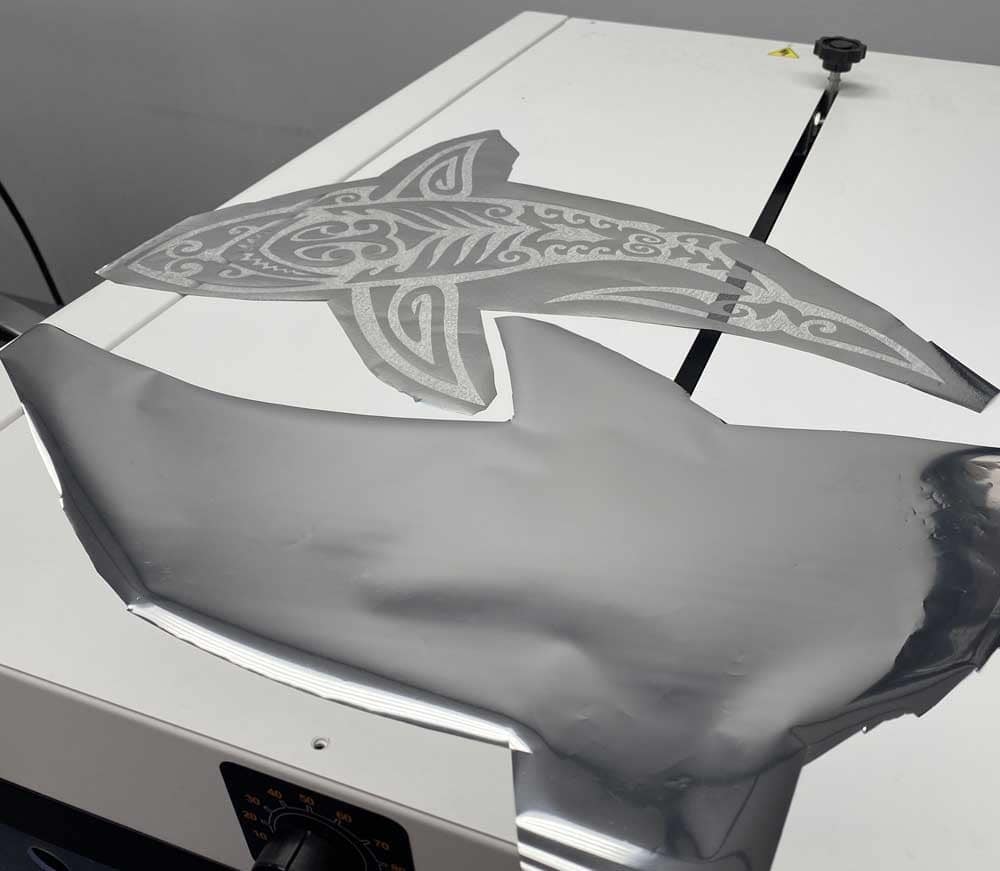
While the shirt is printing cut your foil – trim as close to the shape and size of the image to be foiled as you can (a ½ to ¾” is good).
When the shirt is done printing place it on the heat press and gently lay the foil (shiny side up!) over the area to be foiled then top with your release sheet or parchment and close the press. [It is a good idea to increase your pressure on the press a bit more than normal to get the best adhesion of the foil to the shirt.]
Press for the normal 45 seconds and remove the shirt from the press.
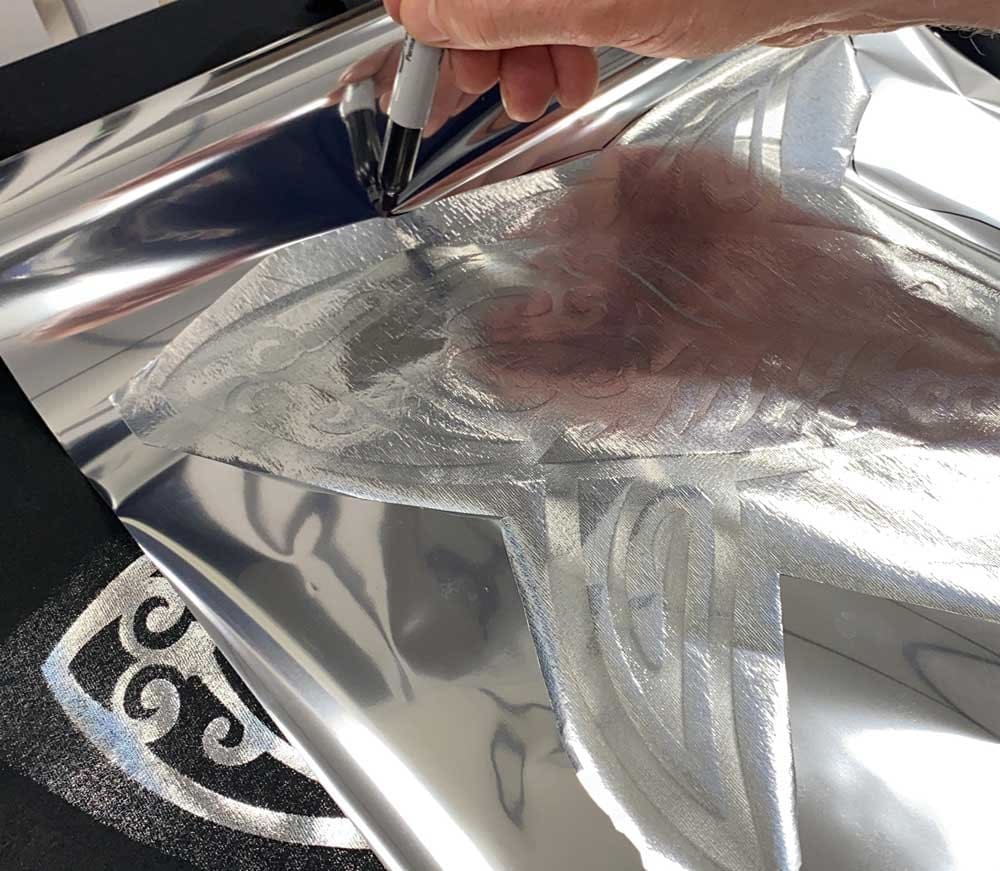
Let the shirt completely cool (you can accelerate this by placing the shirt on a metal table). Once the shirt has cooled peel the foil from the shirt.
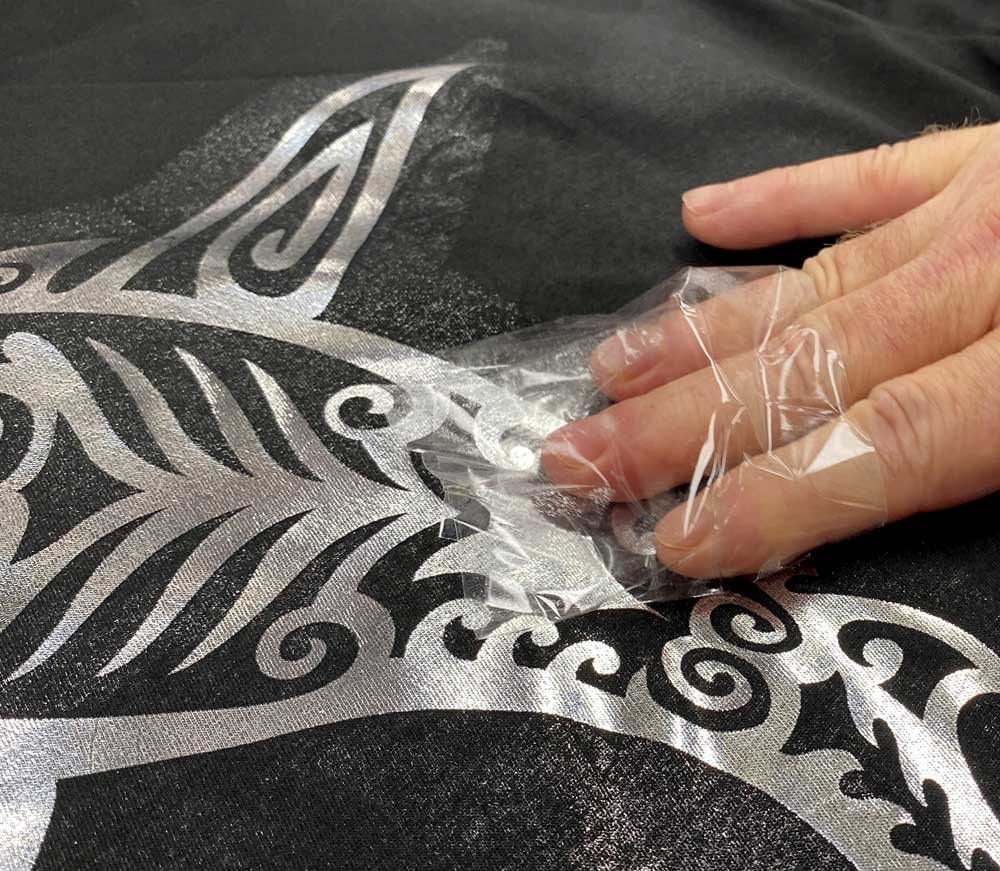
You will notice that some of the foil will have adhered to the pretreatment on the shirt, that is normal. It can be cleaned up by using a lint roller or packing tape, or the easiest solution is to simply throw the shirt in the wash (gentle cycle) and tumble dry on low. This rinses all of the pretreatment out of the garment that has not bonded with ink and as a result it removes the foil that is not bonded to the ink as well.
There you have it – a beautiful foiled print!
Marketing Tip
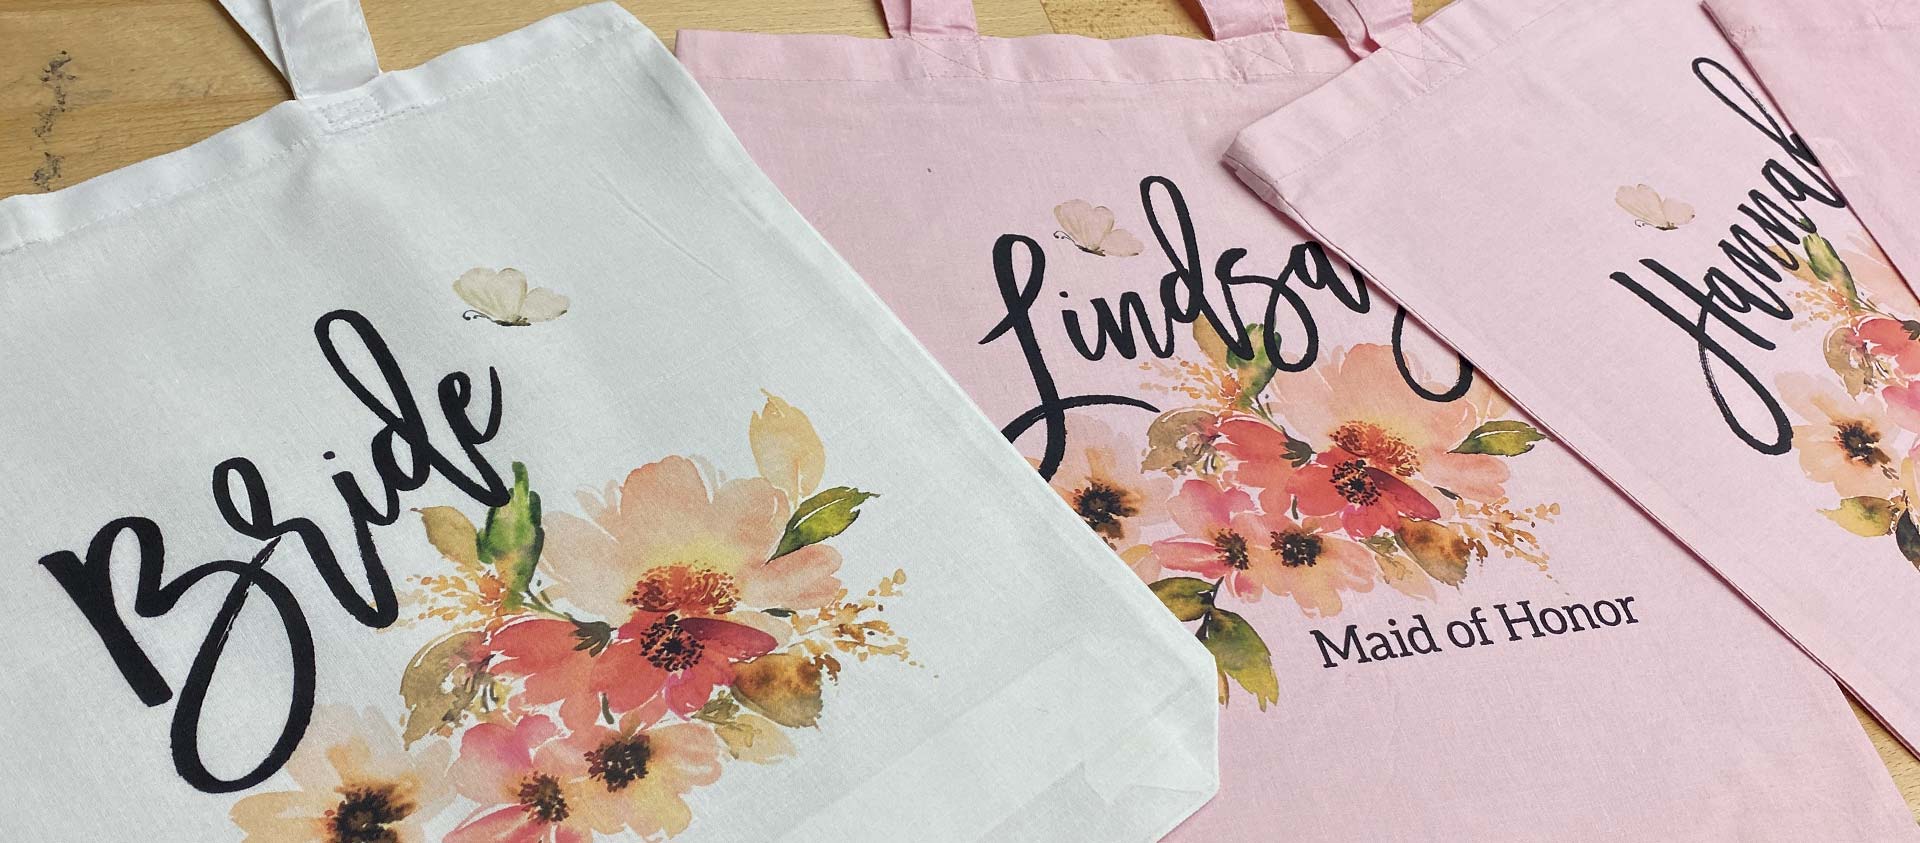
Offer foiled shirts to brides to be for bachelorette parties/trips – it is something that few people are doing and will set you apart from the pack!


