How To Print A Custom T-Shirt

While models may vary, there are basic steps that must be taken to ensure a great end product when printing with a direct to garment printer, DTG Printer, custom t-shirt printers of almost any kind.
ColDesi has been helping people start custom t-shirt businesses since 1998.. and we’re recognized experts in the field of apparel decorating in general AND t shirt printing in particular.
The process of direct to garment printing is simple.
- Pretreat - Prepare your shirt for printing
- Load your printer - hoop your shirts on the 2 or more platens and get ready to print
- Print and Sell - let the printer do its work - then heat press and sell
Graphics Software like CorelDraw, Photoshop, Gimp, and Illustrator are designed to output to many different devices for a wide variety of applications.
This video will walk you step by step through the preparation, printing and finishing process for printing custom t-shirts. Then the rest of the article will more fully describe the hardware, process and supplies involved in accomplishing a great end result – a beautiful, profitable custom tee shirt or garment!
The Best DTG Printer Process
Every direct to garment printer has fundamentally the same process, but even within the same brand you’ll be varying many of the steps according what type of material you’re printing on, the quality you’re producing and the preferences of the artist.
So while what follows represents those basic steps, the BEST DTG Printer process will depend on you, your business and your blanks.
If you are only printing on light colored t shirts or if you have a larger industrial shop you may want to consider a dedicated M2 or M6 commercial DTG printer set up for maximum speed in a dual CMYK mode.
The Steps For Printing with DTG
Creating a finished product using a t shirt printing machine and printing on a white t-shirt or other white textile requires little preparation of the garment in advance. but with DTG Printers like the DTG Viper2, M2 or M4 you have the highly profitable capability of printing directly onto dark garments as well and that requires “pretreating”.
Think of Pretreatment like adding a primer before you paint. It helps the ink adhere better to the t-shirt or other garment, as well as to things like canvas, denim jeans, and more. We usually only use pretreatment on dark garments or non-textiles so the white ink bonds properly and lasts wash after wash.
- Step 1: Preparing Your Shirt To Print With DTG
Think of Pretreatment like adding a primer before you paint. It helps the ink adhere better to the t-shirt or other garment, as well as to things like canvas, denim jeans, and more. You CAN print without pretreatment, but it negatively impacts the vividness of the print and the wash-ability, so it’s almost never done.
There are 2 ways to apply Pretreatment
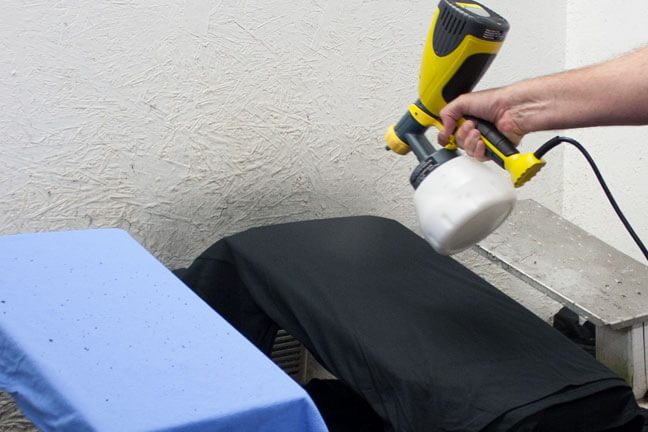
Hand Spraying – for manual pretreating you can use the sprayer that’s always included with your direct to garment printer form ColDesi.
That process is basically to spray the pretreatment onto the garment as evenly as possible using a smooth back and forth motion of the sprayer. This takes some practice. Too much pretreat or too little impacts how the garment looks and washes. Manual spraying must be done in a well ventilated area away from your printer.

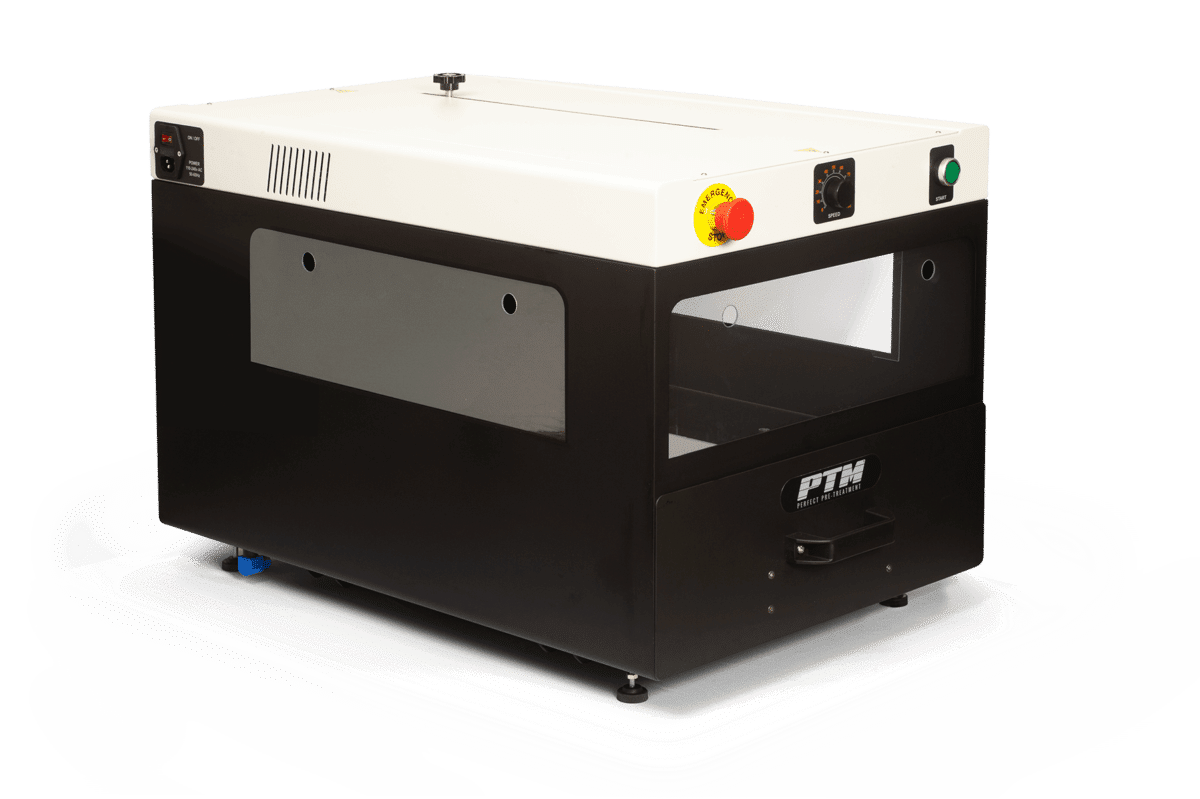
PreTreat Machine – an automatic pretreatment machine is an enclosed device that you load your shirt into, then press a button to have the pretreat sprayed onto it.
The PTM Pretreat Machine i is the device that we use and recommend. You can dial the amount of pretreat that is sprayed, the process only takes a moment and is consistent every time. The latter is hard to achieve with a hand sprayer.
One of the biggest advantages to the PTM is that it is completely enclosed so you can pretreat shirts inside a house, retail location or an office. Even right next to your DTG Printer. The PTM is included with the DTG M2 Pro Bundle.

- Step 2: Creating Your Graphics
All garment embellishments have to start somewhere. With direct to garment printing the work generally begins at the computer. All DTG’s need good, clean artwork to produce the best prints on your garments. Good artwork starts with professional quality graphics software like CorelDRAW, Photoshop or Adobe Illustrator.
Of course, the quality of the image you start with makes a big impact on the end result. By following a few basic guidelines in regards to resolution and background you will find it easy to design or tailor artwork to produce high quality images.

If you are not artistically inclined there are a number of clipart and template programs on the marketplace that will streamline the process for you. The general rule of direct to garment printing is that if the image looks good printed at the size you will be printing it when printed on your desktop inkjet printer, then the image will look good on a t-shirt.
That being said, don’t underestimate the importance of becoming proficient in your graphics software. Luckily there are MANY online sources where you can go and get educated on using graphics software – take advantage of them! Secondarily you can attend industry tradeshows where more specialized training is available or purchase training DVD’s and books written by garment decoration experts that provide valuable tips and tricks to maximize the “WOW” value of your artwork.
- Step 3: Printing on a DTG Printer
Direct to garment printers generally require a specialized software package called a Raster Image Processor (RIP) to print properly. Primarily, the RIP is simply a printing utility that translates the image you created into a format that allows you the most control over the end result.
Modern RIP Software, like the application that comes with your DTG Printer from ColDesi, also generates the white ink underbase required to print on dark garments, controls the amount of white and color ink laid down and color matching as well as other functions such as multi-shirt image placement and ink cost calculation. So it basically operates as a job management and cost management application as well as a color management software.
Your DTG printer will come with a RIP configured with the most common settings for the printer – and your DTG training class will go over the process of creating specific print settings for your application.

- Step 4: Finishing Your Garment
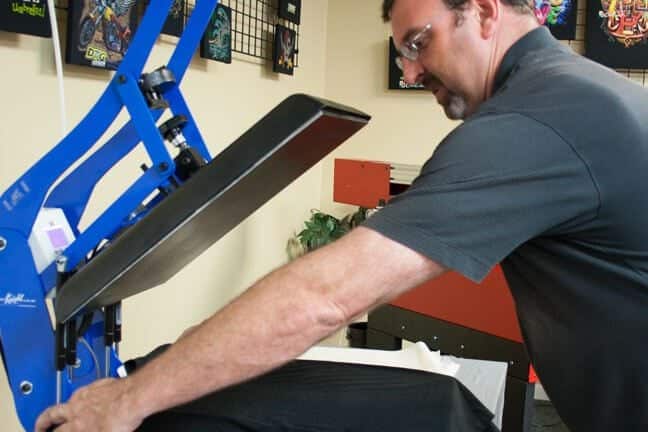
Once your printer is done printing the shirt you will need to cure the garment to set the inks to insure maximum washability.
Typical cure times range from 2-3 minutes at 340 degree F, some garments may allow you to cure at slightly higher temperatures for shorter periods of time – but you will need to test them individually – remember – the way a shirt washes will often impact future sales!

You will learn in your DTG training about different finishes you can get on your prints based on the type of curing sheet you use – Teflon, parchment, release sheets, even embroidery backing material will all give different results.
The key hardware decision in this part of the process is which heat press you select for your business. ColDesi sells the GeoKnight line, and typically recommends the DK20 or DK20S models for their superior performance, warranty and low cost. These models are what WE use!


